Customizing the Logon Page
To create a customized logon page:
-
 Create a new Environment.
- On the toolbar, click Admin > Environments.
- On the Environments dialog box, click New.
- On the Add Environment dialog box, enter a Name for the new environment, and then click OK.
-
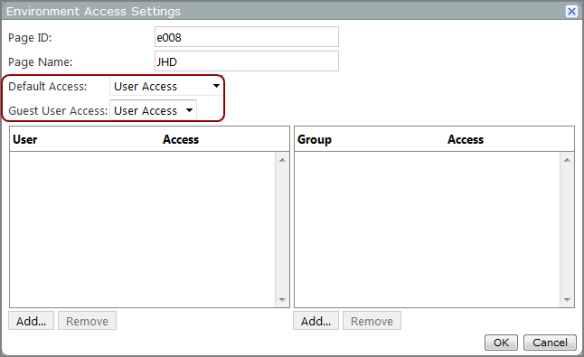
 On the Environment that you just created, set the Default Access and Guest User Access to User Access.
- On the Environments dialog box, click the Edit this environment icon, and then click Access.
-
Set both the Default Access and Guest User Access to User Access.

-
Click OK.
This is the first environment to display when a user logs on.
- Click OK to exit the Environments dialog box.
-
 Create a welcome/logon page in the new environment.
- On the sidebar, click Add a page.
- On the Add Page dialog box, enter a Name and Layout for the logon page.
- Open the page that you just created.
-
On the toolbar, click Edit to unlock the new page and enter edit mode.
- If you want to add an image to the main section of the logon page, add an image portlet to the page, resize it as you like, and then click OK.
-
Add a logon portlet to the page, place it where you like and then click OK.
NOTE: There are no settings for the logon portlet.
-
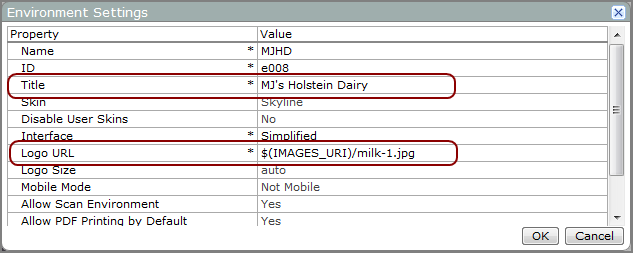
If you want to change the title bar, you can specify a different Title or Logo graphic at either the
 environment or portal level.
In the following example, an image portlet covers the main section of the page, a logon portlet is located on the upper right side, and the title bar has a customized name and image.

See also:
- Environment Settings
- DivePort Portal-Level Settings
- Customizing the DivePort Title Bar
- Adding an Environment
- Adding an Image Portlet
- About Logon Portlets
