The initial DiveTab script is a menu area with buttons that point to any of the other area and page types. You can add menu area buttons to any script, but, usually, menu area buttons are in the main.divetab script that is the landing page for your DiveTab application. The following procedure adds another menu area to the script. This procedure assumes that you created an initial DiveTab script.
NOTE: The GUI refers to DiveTab scripts as modules.
NOTE: Icon and banner are optional. If you want to include images or banners, the files must be in the project, typically in the /divetab/images folder.
To create menu areas within an existing script:
-
In Workbench Explorer, double-click the script where you want to add a menu area button, or right-click the script and select Open with > Mobile Module Editor.
The script opens in the GUI editor.
-
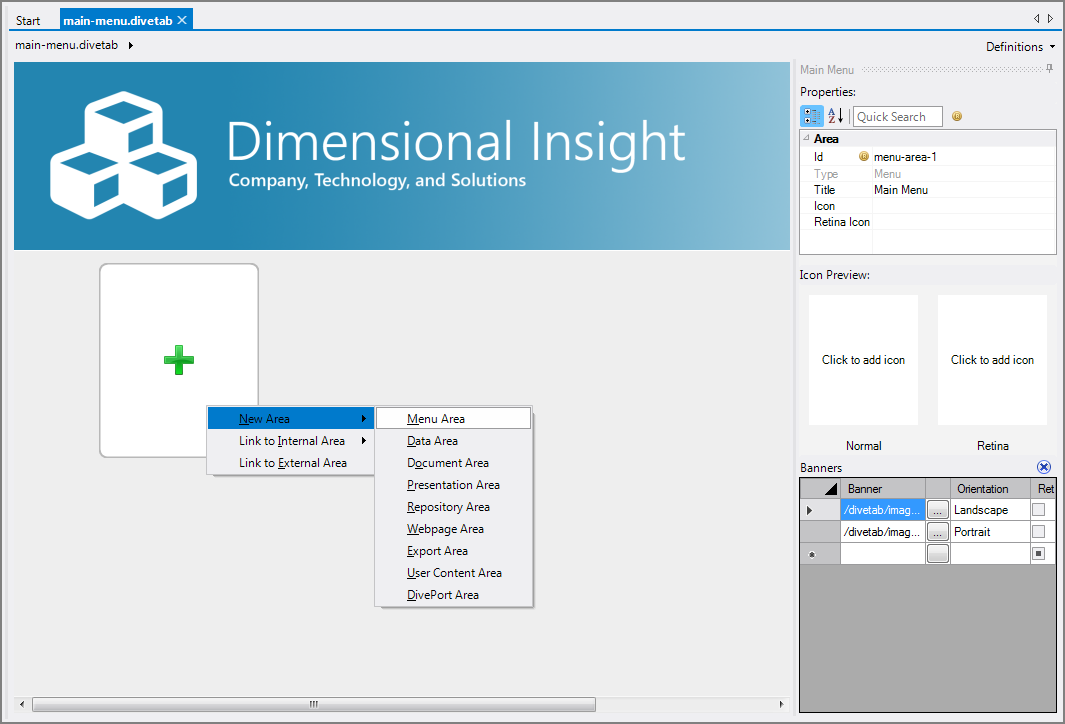
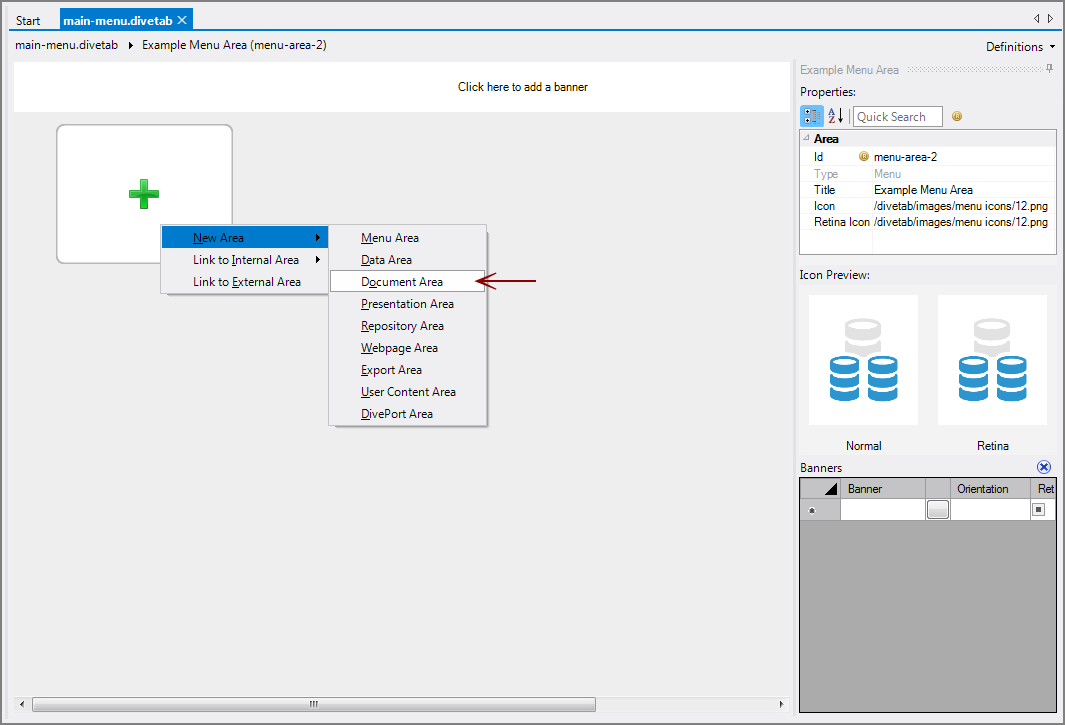
Click the Add new item button (green plus sign) and, from the context menu, select
 New Area > Menu Area.
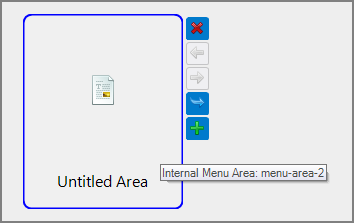
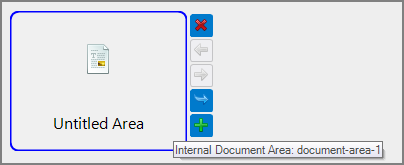
A new
 Untitled Area button is added to the page as shown.
Notice the additional button commands that appear when you move the mouse over the button. From these commands, you can:
- Remove the button
- Move the button to the left or right
- Go to the area within the script
- Insert a new button
-
Open the new menu area to edit the properties. You can do one of the following:
- Double-click the button.
- Click the Go to Area button that appears when the mouse is positioned over the button.
- With the button selected, click the Click here to edit Area bar under the Button Properties pane on the right.
-
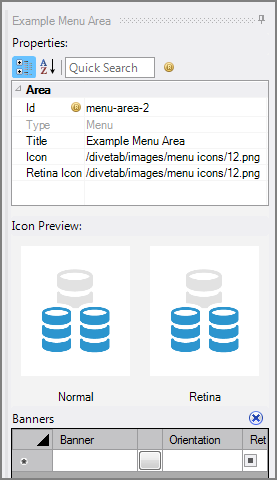
Edit the menu area button properties that appear on the right side of the screen. Here is an example of the
 button properties.
- Id—Replace the default menu-area-# with a meaningful identifier. Area IDs are used for internal referencing.
- Title—(Optional) Enter the text that appears on the button face and the title for the page that it opens. You can use the <br> tag in this field to set a line break for long titles. The button shows two lines of text.
- Icon—(Optional) Select the icon to appear on the button. Click the browse button (...) to navigate to the icon file.
-
Retina Icon—(Optional) Select the retina icon to appear on the button for retina displays. Click the browse button (...) to navigate to the icon file.
NOTE: (Optional) You can also add a banner for this menu area. Click the link Click here to add a banner at the top of the page and navigate to the banner file.
-
Save the script.
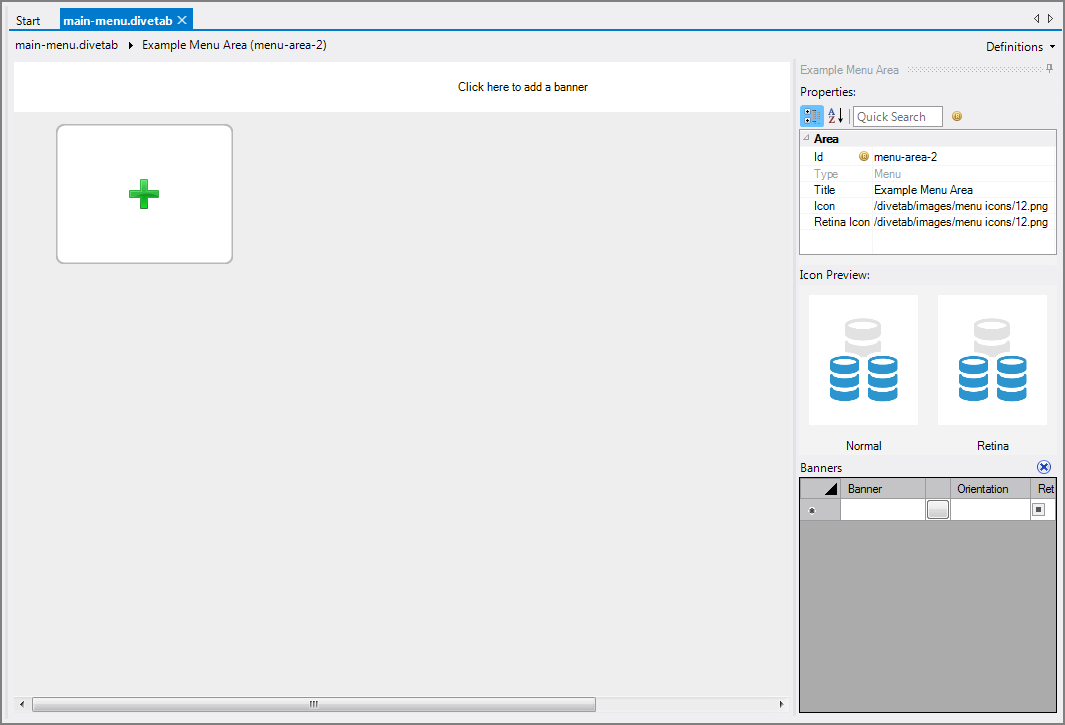
An empty
 menu area is created. You can now populate this menu area with additional buttons using any of the area types. Follow Steps 6 through 9 to add a document area to the menu area for testing.
 -
In a menu area, click the Add new item button (green plus sign) and, from the context menu, select
 New Area > Document Area.
A new
 Untitled Area button is added to the page as shown.
 -
Open the new area to edit it. You can do one of the following:
- Double-click the button.
- Click the Go to Area button that appears when the mouse is positioned over the button.
- With the button selected, click the Click here to edit Area bar under the Button Properties pane on the right.
-
Edit the
 menu area button properties that appear on the right side of the screen.
- Id—Replace the default document-area-# with a meaningful identifier. Area IDs are used for internal referencing.
- Title—(Optional) Enter the text that appears on the button face and the title for the page it opens. You can use the <br> tag in this field to set a line break for long titles.
- Icon—(Optional) Select the icon to appear on the button. Click the browse button (...) to navigate to the icon file.
- Path—Select the location of the document, which can be in a project folder or a repository. Click the browse button (...) to navigate to a document contained in the project.
- Repository—(Optional) If stored in a repository, enter the name of the repository that the document is stored in.
-
Retina Icon—(Optional) Select the retina icon to appear on the button for retina displays. Click the browse button (...) to navigate to the icon file.
-
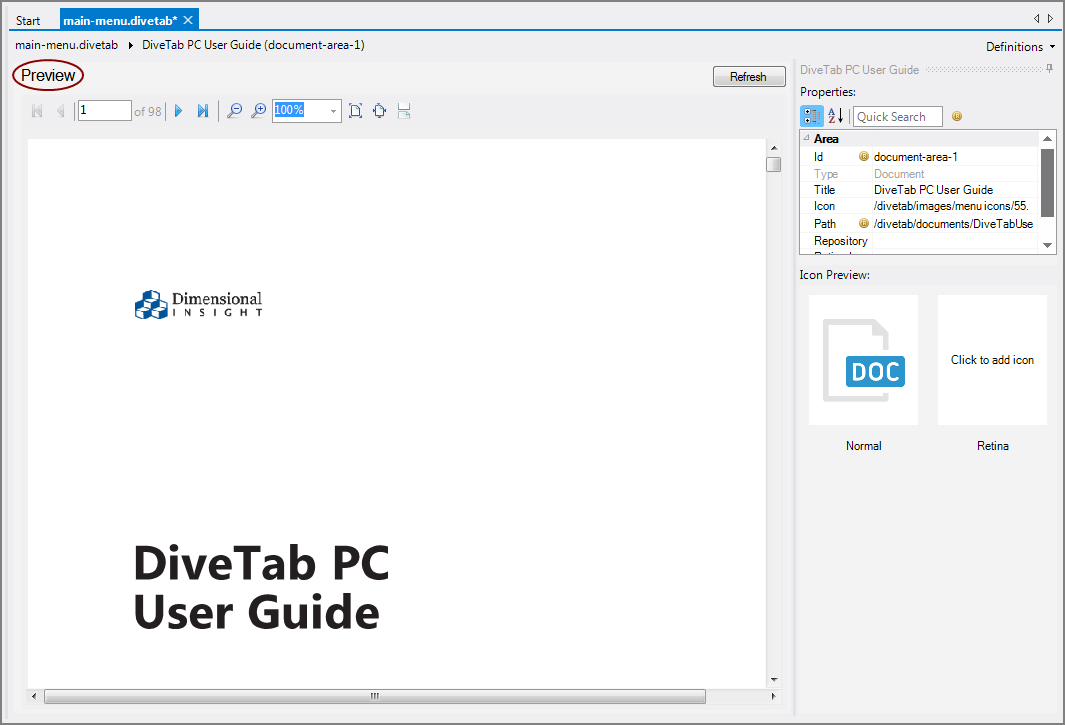
Save the file. A
 preview of the document appears.
As you add buttons to this menu area, you should check that all is working as expected in the end-user application.
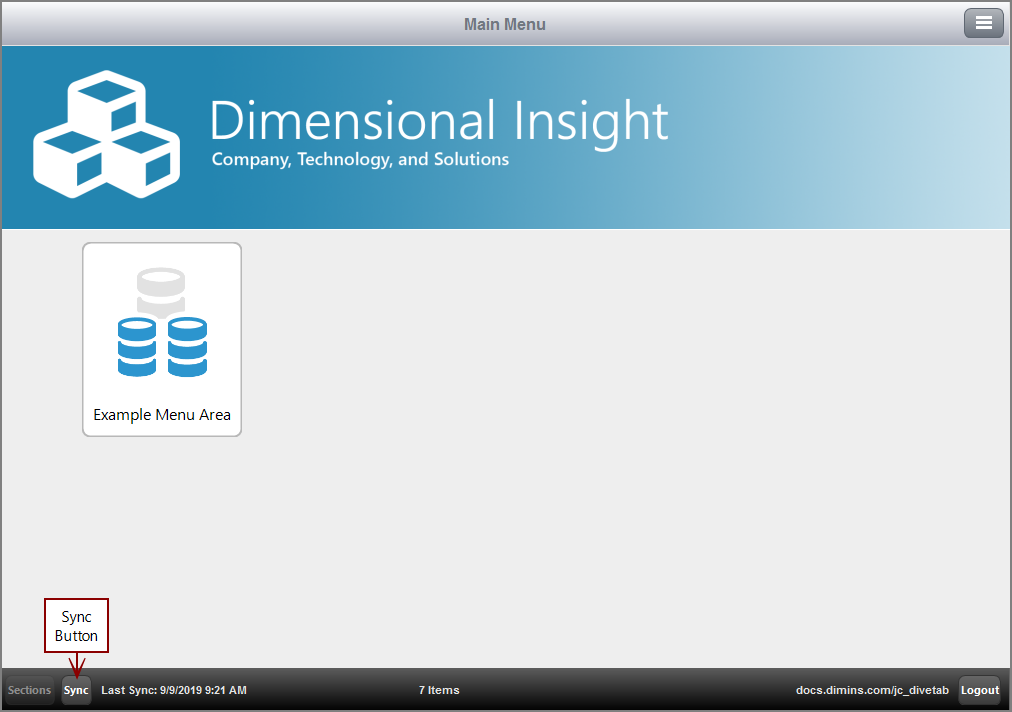
The DiveTab user experience for this simple example is the following:
-
Open the DiveTab application and Sync to display the
 landing page.
 -
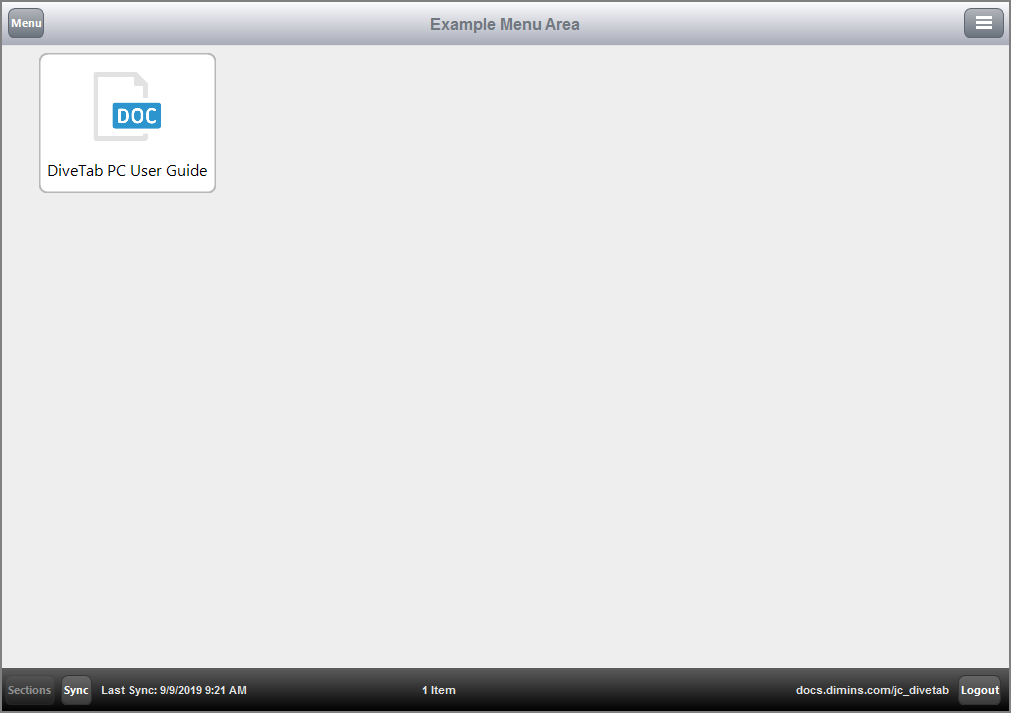
Tap or click the Example Menu Area button to display the
 menu area that you just created. Notice that this menu page contains one document area.
These steps produce an underlying script. If you prefer, you can work directly within the script. To view and edit the script, right-click the file and click Open with > Text Editor.
Here is how this example ![]() appears in the script.
appears in the script.
See also:
