You can create a cross page from scratch or alter an existing page, and place the page within its own module, menu-area, or data-area. You can alter the script to reflect cross page requirements and then customize it.
NOTE: You can add a new data page within the same divetab file, or you can create a new divetab file and attach it to a menu.
- In Workbench, open your DiveTab project.
-
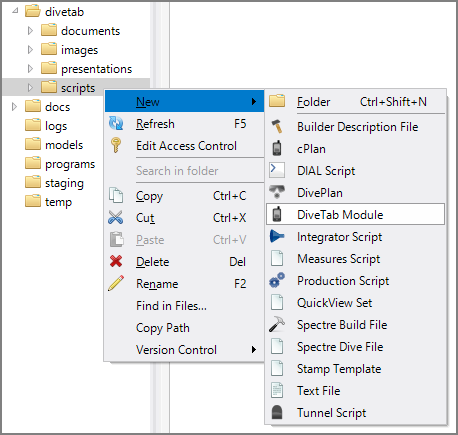
Right-click the /divetab/scripts folder and in the context menu, select
 New > DiveTab Module.
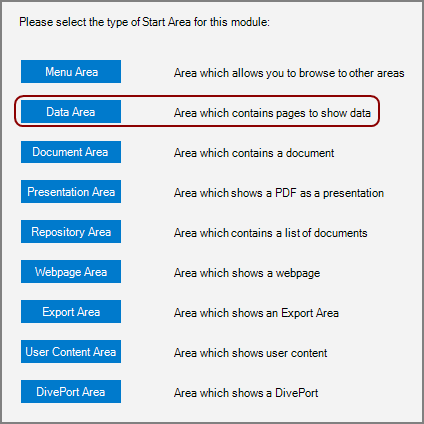
The New DiveTab Module.divetab tab opens, displaying a list of area types.
- On the Explorer pane, right-click the New DiveTab Module.divetab file, select Rename, and change the name of the file to reflect the content. For example, cross-page.divetab.
-
On the cross-page.divetabwindow, click
 Data Area.
The
 basic starting code for a data area displays.
 -
In the basic code, change the data-area id value to reflect the content. For example, cross-page.
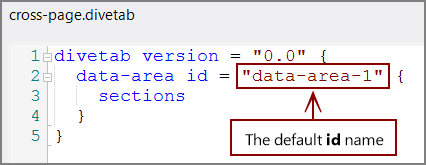
This id is used internally in the script.
-
Within the data-area:
- Add a title for the users.
- Add an icon for the menu.
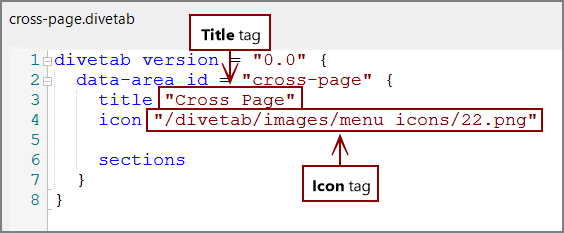
TIP: Placing the title and icon tags before the sections block makes the script easier to organize and navigate.
-
Within the sections block, enter the cross-page script.
TIP: If using one summary column, use the no-summary-column tag to hide the summary name. Otherwise the single value repeats on each row.
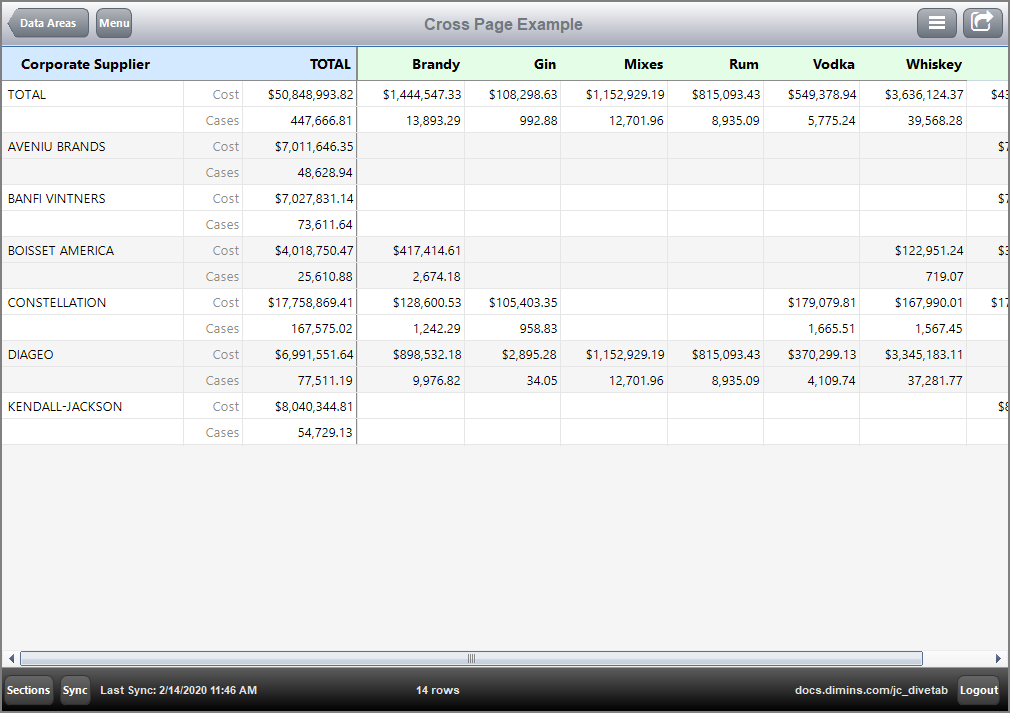
Here is
 an example of a cross page.
NOTE: When linked from a central or overview page, a cross page is contained in a pages block.
- Save the file.
Link the data-area to a menu area:
- In Workbench, navigate to the menu-area you want to add the cross page to.
-
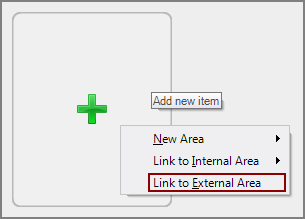
Click the green plus sign, and select
 Link to External Area.
NOTE: Because this file is separate from the file where it is linked, it is considered an External Area.
- In the Select File dialog box, find and select the script for the new report page. For example, cross_page.divetab.
- Save the project.
-
Open the
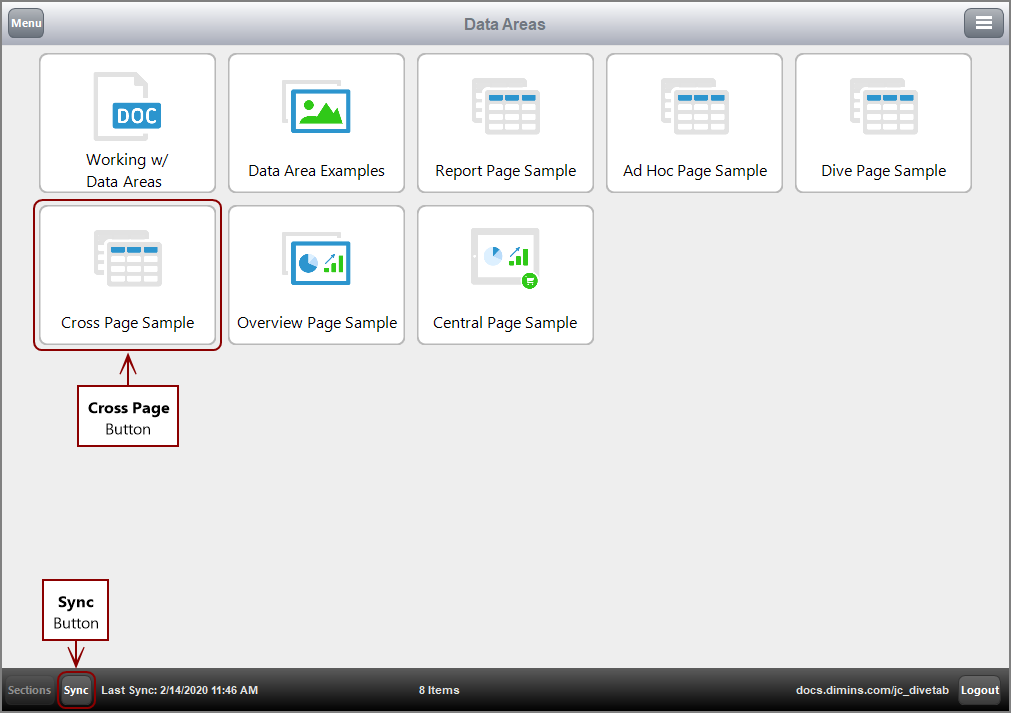
 DiveTab client, and select Sync.
The DiveTab client synchronizes with the project on the server.
-
Select the Cross Page button. The
 cross page displays.
You can define a cross page from a Menu Area.
- In your DiveTab project in Workbench, navigate to the menu-area you want to add the cross page to.
-
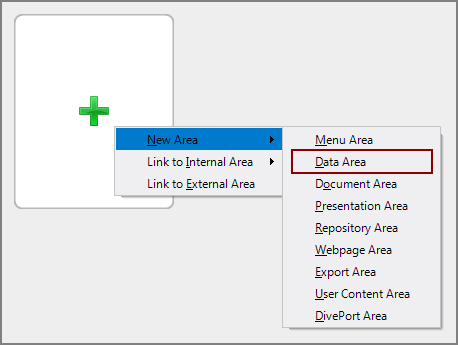
Click the green plus sign and select
 New Area > Data Area.
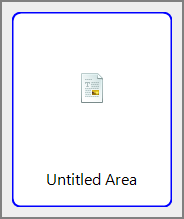
 A
 new button appears.
 -
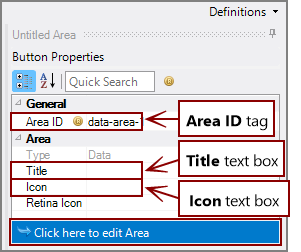
Under the Button Properties on the right:
- Enter a Title for the button.
- Enter or select an Icon for the button.
-
Note the Area ID value, and then click Click here to edit Area.
NOTE: Alternatively, you can double-click the new data area button to open the location in the code.
-
Locate the data-area block in the script using the Area ID value.
TIP: The new data area appears in the areas block.
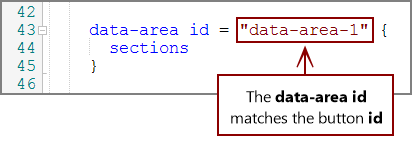
NOTE: You might need to reposition the title and icon tags above the sections tag.
-
Enter the information necessary to define the cross-page in the sections block.
Here is
 an example of a cross page.
 -
Open the
 DiveTab client, and select Sync.
The DiveTab client synchronizes with the project on the server.
-
Select the Cross Page button.
The
 cross page displays.
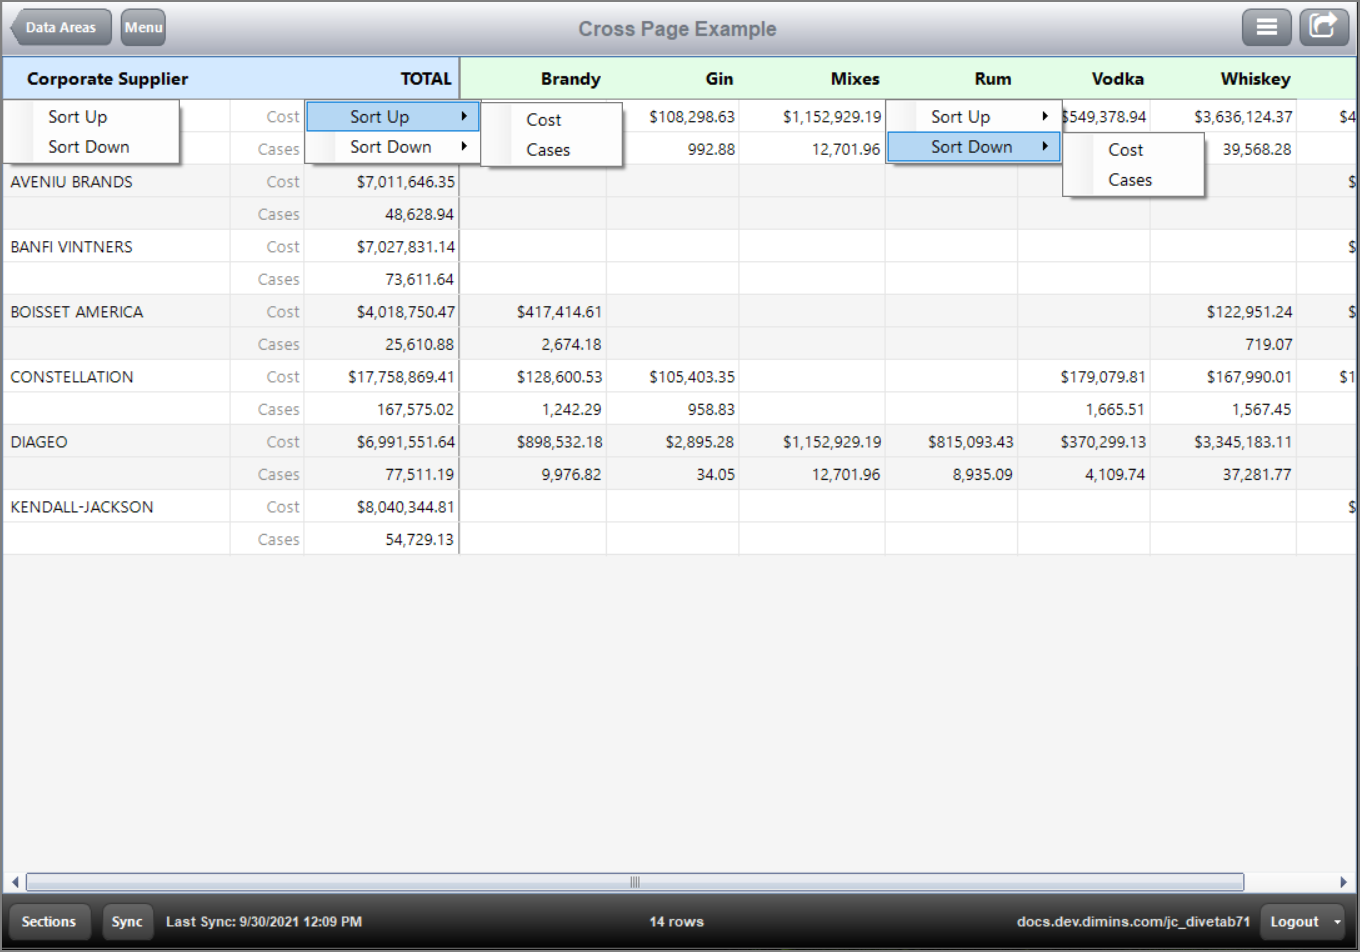
Here is the cross page showing the![]() default context menus in DiveTab.
default context menus in DiveTab.
NOTE: You can view only one context menu at a time.
See also:
