Using Git Branches
You can use the Workbench Git GUI to make and switch between branches. A Git branch is a copy of a project that allows for changes to that branch without those changes being applied to the main project. You can use the Workbench GUI to add new branches, delete existing branches, and switch between branches.
To open the branch manager:
-
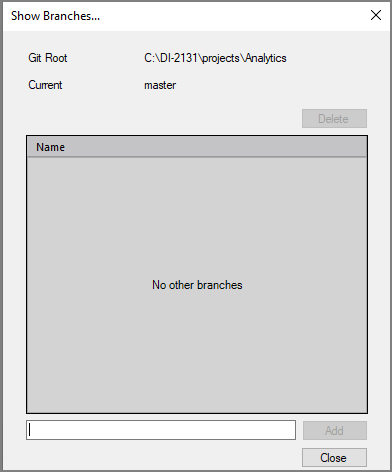
Go to Tools > Version Control > Branches.
The
 Show Branches window opens.
To add a branch:
-
Open the Show Branches window.
-
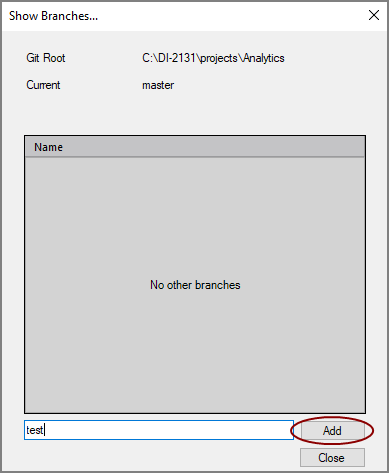
Type the branch name in the field at the bottom.
-
Click Add.
The new branch is added.
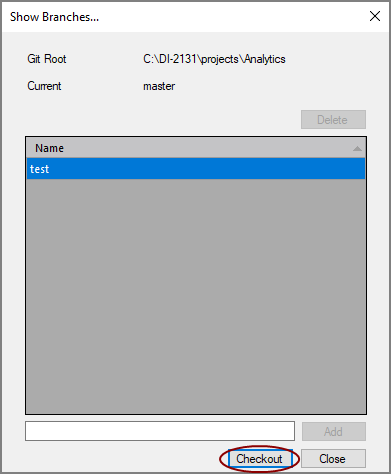
You can switch to your new branch by clicking Checkout.
To delete a branch:
-
Open the Show Branches window.
-
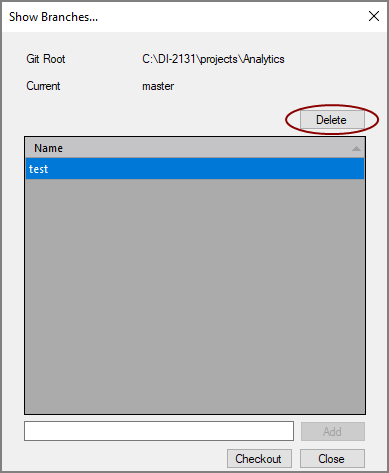
Select the branch you want to delete from the list of branches.
-
Click Delete.
You can switch to using branches in the repository by using the Git Checkout feature. To switch branches:
-
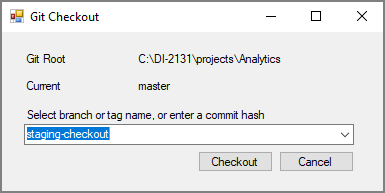
Go to Tools > Version Control > Checkout.
The
 Git Checkout window opens.
 -
Select the branch from the combo box.
-
Click Checkout.
-
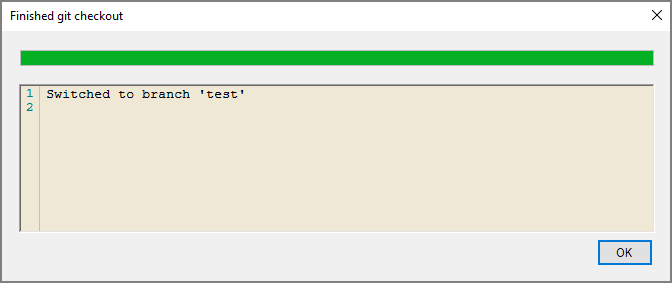
Click OK when the checkout finishes.
When a branch is ready to be incorporated into the master branch of your project, use the merge feature to combine the master branch with the other branch. To merge branches:
-
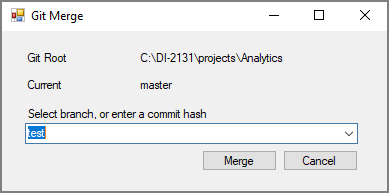
Click Tools > Version Control > Merge.
The
 Git Merge window opens.
 -
Select the branch you want to merge from the combo box.
-
Click Merge.
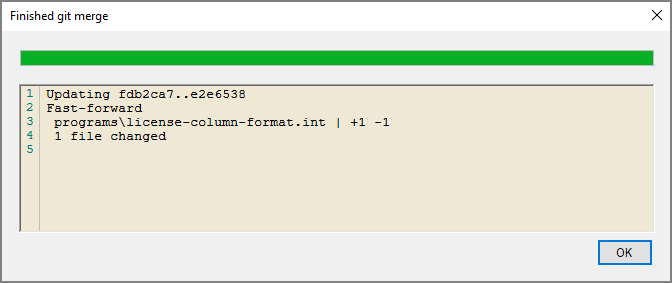
The
 Finished git merge window opens.
 -
Click OK to close the window.
