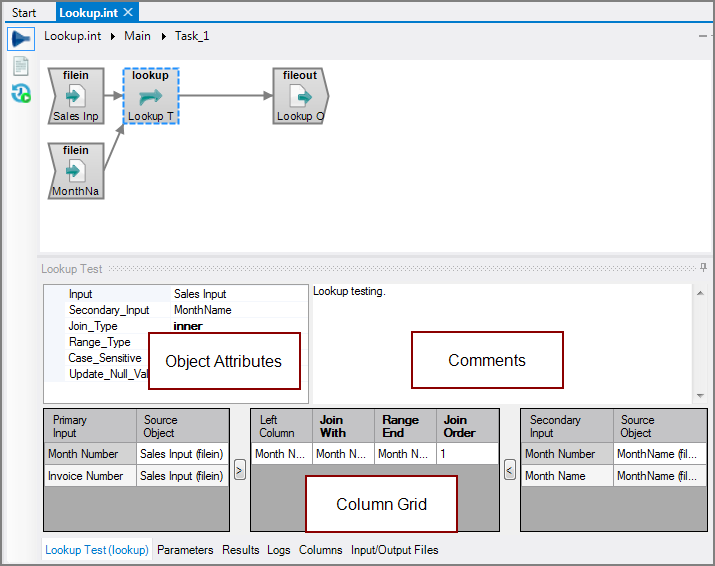
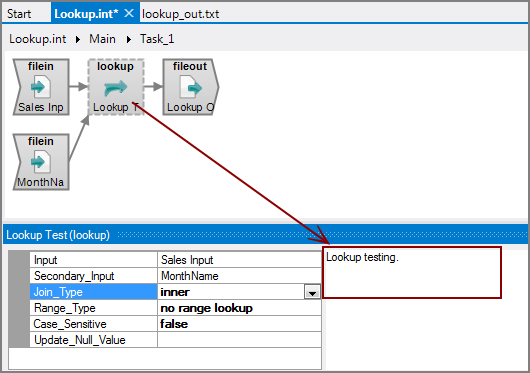
The Visual Integrator (VI) Lookup process object combines two input flows with a simple relational join to form a single output flow.
![]()
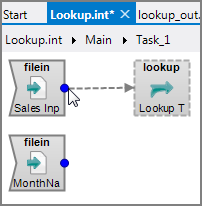
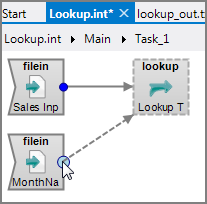
Two inputs are required: a primary input for the input flow and a secondary input for the lookup flow. Either a single column or multiple columns from each flow are used to match rows between the inputs. For each row in the input flow, the value of the match columns are used to find a row in the lookup flow.
- If the lookup row is found, a set of columns are added to the input row as part of the output flow.
- If no row is found, empty strings are inserted for those columns.
- If multiple rows matching the join keys are found in the lookup input, only one of the rows is kept. A warning is issued, but the process continues using the first value encountered.
NOTE: Lookup inputs are fully loaded into memory. If you have large lookup input files, consider breaking them into smaller files. If you need to use these large lookup files, consider using a Join process object instead.
You can perform a ranged lookup, where rows are joined based on a range of values. This is useful when there are multiple values that map to a single value. Ranged lookups let you create small lookup files instead of large files. That is, instead of creating a row for each possible value and repeating the lookup value, you can create one row with a range of values for each lookup value. When editing, you only need to update one row rather than a series of rows.
The Lookup process object has ![]() three panes where you set attributes.
three panes where you set attributes.
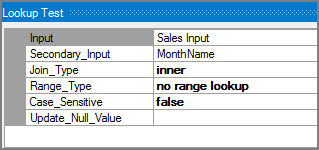
You set attributes for the Lookup process object in the ![]() object attributes pane.
object attributes pane.
| Attribute | Description |
|---|---|
| Input |
Defines the primary input for the Lookup object. The Input attribute and the Secondary_Input are required attributes.
|
| Secondary_Input |
Defines the secondary input for the Lookup object. The Secondary_Input and the Input are required attributes.
|
| Join_Type |
Defines the join type to perform. The inner and outer terms are from relational database technology, but their meanings are different as used here. Select one of the following types:
|
| Range_Type |
Defines the range type in a ranged lookup. If performing a ranged lookup, select one of the following types:
|
| Case_Sensitive |
Controls whether comparisons are case-sensitive.
|
| Update_Null_Value | Defines the null value used for the update and outer_update join types. If a lookup column value matches this string, its value is considered null and does not affect the output. By default, this attribute is not specified, which indicates an empty string. |
Each object has an area where you can enter comments.
It is a DI best practice to enter a note for every object in a VI script. You can set a VI preference to give a warning for each object without a note.
The ![]() Lookup column grid displays the primary input on the left, the secondary input on the right, and the input columns and the join columns that you specify in the middle.
Lookup column grid displays the primary input on the left, the secondary input on the right, and the input columns and the join columns that you specify in the middle.
The Lookup column grid has three parts:
- Primary Input Grid (left)—Lists the columns defined in the primary input object where you can select the columns to join. The Source Object column displays the object name where the columns entered the flow. Double-click the Source Object to change the task flow focus to that source object.
- Join Grid (middle)—Displays the columns that you have designated for the join. See the following section about joining columns.
- Secondary Input Grid (right)—Lists the columns defined in the secondary input object where you can select the columns to join with. The Source Object column displays the object name where the columns entered the flow. Double-click the Source Object to change the task flow focus to that source object.
To set the columns for the join:
-
From the Primary Input grid on the left, select the column, and click the arrow between the left and middle grids.
The column is added to the
 Left Column column of the middle grid.
 -
From the Secondary Input grid on the right, select the column you want to join, and click the arrow between the right and middle grids.
The column is added to the
 Join With column in the middle grid.
 -
Repeat steps 1 and 2 for any additional joins.
-
Edit the Join Order column if necessary.
NOTE: Edit the Range End if working with a range lookup.
