Using Git Checkout
When you use Git version control in Workbench, the checkout feature allows you to tie your Workbench project to a specified branch or tag in the central repository. When tied to a branch or tag, your Workbench project has access to all files from that branch or tag, allowing your project to be used for testing or production without the possibility of unwanted changes being pulled in.

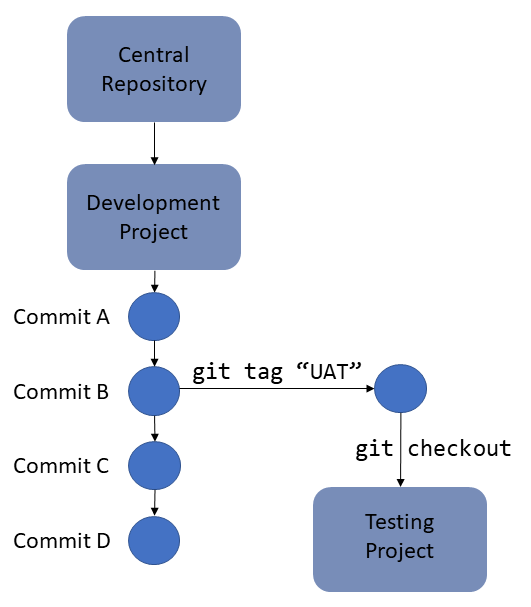
In this diagram, there are two Workbench projects: Development and Testing. The Development project is connected to the central Git repository, and has gone through multiple changes that are committed as A–D. Commit B is determined to be stable for testing, and the tag UAT is created on that commit (this can be done in the git console using the git tag feature or in the repository itself). The git checkout GUI is used in the Testing Workbench project to retrieve the UAT tag, which returns the project as it exists at the time of the "B" commit. Meanwhile, changes that continue to be made in the Development project do not affect the Testing project.
To use git checkout, you need at least one tag in your git repository. To pull tags, see Pulling Changes.
-
Right-click on the project in the project Explorer.
The context menu opens.
-
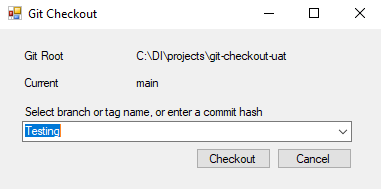
Select Version Control > Checkout. The
 Git Checkout window opens.
NOTE: Checkout is not available from the Tools menu, only from the context menu of a selected project.
-
Select the branch or tag you want to check out from the combo box. Options are sorted alphabetically with branches listed first, followed by tags. The branch or tag you are currently using is not an option.
-
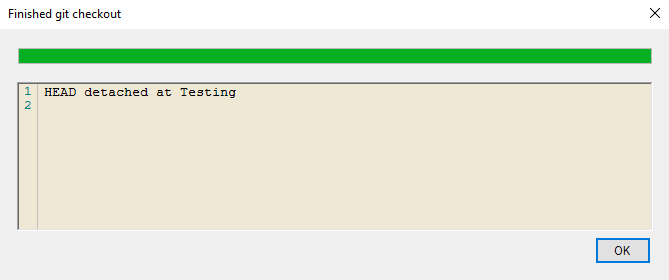
Click Checkout. If the checkout is successful, the
 status HEAD detached at [branch/tag name] displays.
 -
The project automatically pulls all data from the new branch or tag and removes any data not found in that branch or tag.

