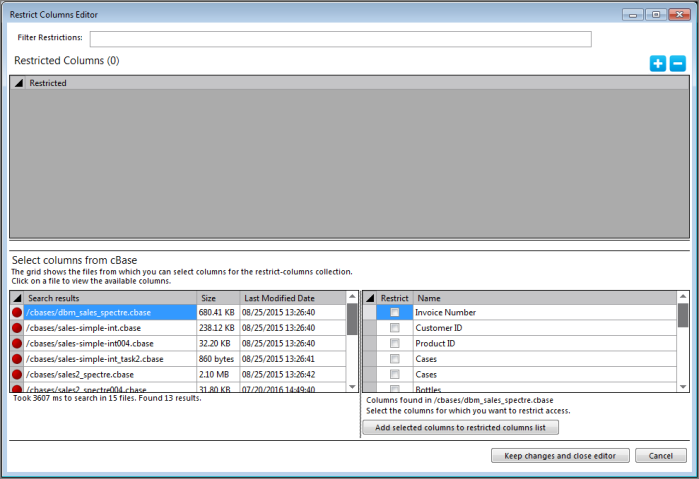
The Restrict Columns Editor is used from the Column-Based Rules section of the cBase Access and Model Access sub-tabs to set the columns you wish to restrict users from seeing. Restricting columns is configured the same in both the cBase Access and Model Access sub-tabs of the Access for tab.
NOTE: The Restricted Areas section of the DiveTab Access tab uses a similar dialog box, labeled Restrict Areas Editor, for restricting access to areas.
This procedure is based on using a cBase example—the same steps apply to setting restricted columns for models and restricted areas for DiveTab.
To set columns that you want restricted for a cBase:
-
In an open project, right-click the project or directory, and select Edit Access Control.
-
In the Access for / tab, click cBase Access.
-
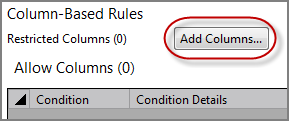
In the Column-Based Rules section, next to Restricted Columns, click
 Add Columns.
NOTE: If there are any existing restricted columns, the label is Edit and a preview listing of the restricted columns appears to the right.
The
 Restrict Columns Editor opens.
 -
There are two methods available to add columns:
-
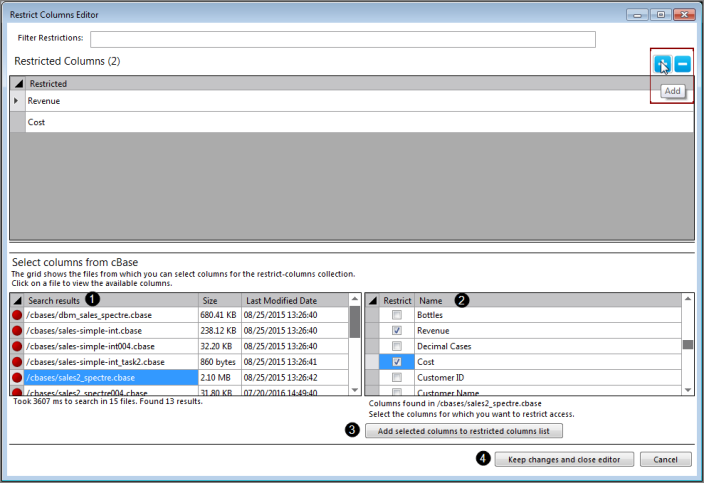
Click Add (+). Type the column name in the new row. Repeat for each of the columns that you wish to add.
Or:
-
Follow these steps
NOTE: Numbers in the following sub-steps refer to numbers in the
 example.
- Select a cBase in the Search Results section (1).
- Select each columns to restrict in the Restrict section (2).
- Click Add selected columns to restricted columns list (3).
-
-
Click Keep changes and close editor (4).
A parenthetical number appears next to the Restricted Columns area, and the column names are listed in the
 preview area.


