You can create an ad hoc page from scratch or take the code for a report page and change the data page type to an ad hoc page. This section shows steps for both scenarios.
-
In the DiveTab script containing the report page you want to use, copy and paste a report page code block.
NOTE: You can paste the code block into the same, or a different, data-area .
Here is an
 example of a report page code block.
 - In the copied block, change the report-page tag to ad-hoc-page.
-
Change the page title or the button icon or both so you can identify each more easily in the client.
Here is an
 example of the code altered for an ad hoc page.
 - Click File > Save or press Ctrl+S to save the file.
- In the DiveTab client, click Sync.
-
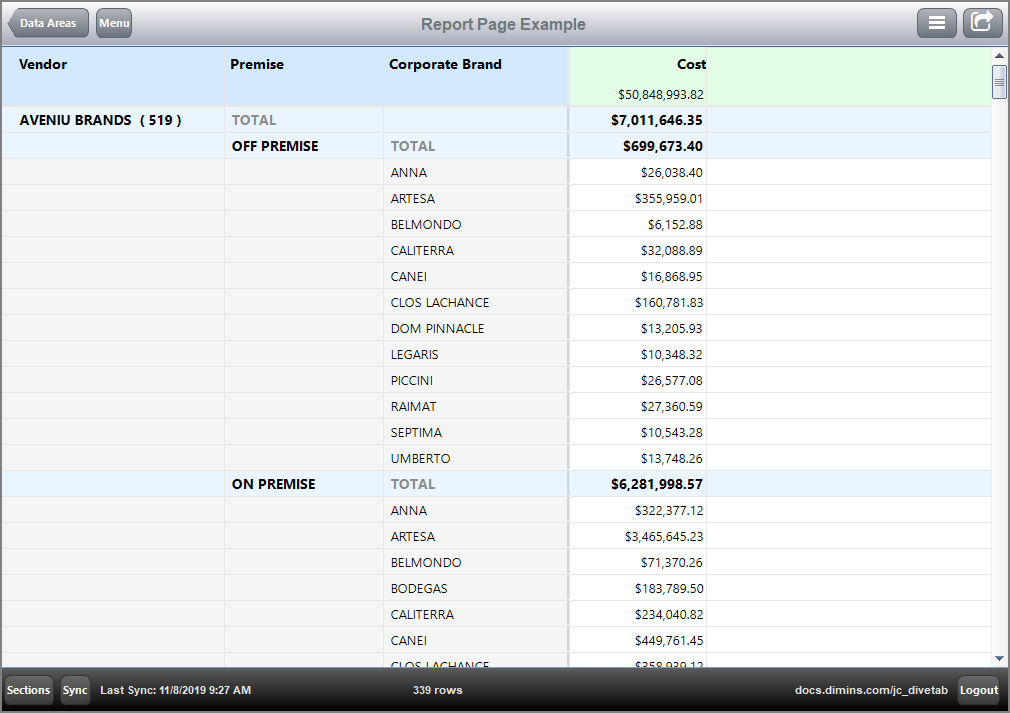
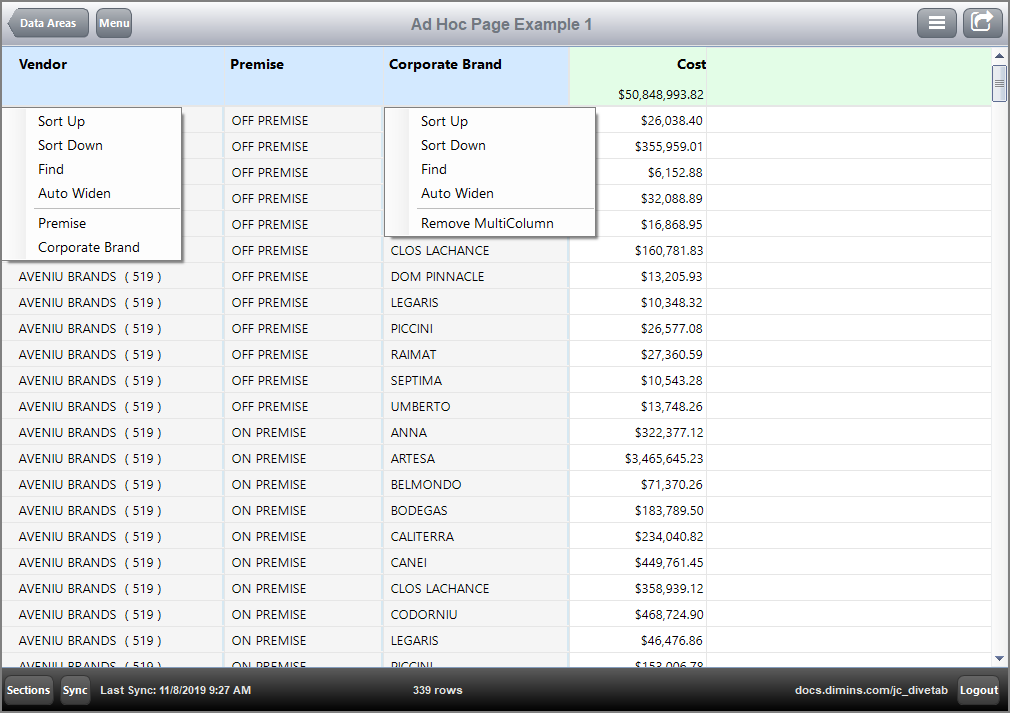
Compare and contrast the content and behavior of the report page versus the ad hoc page.
Here is the
 result of the report page code in DiveTab.
Here is the
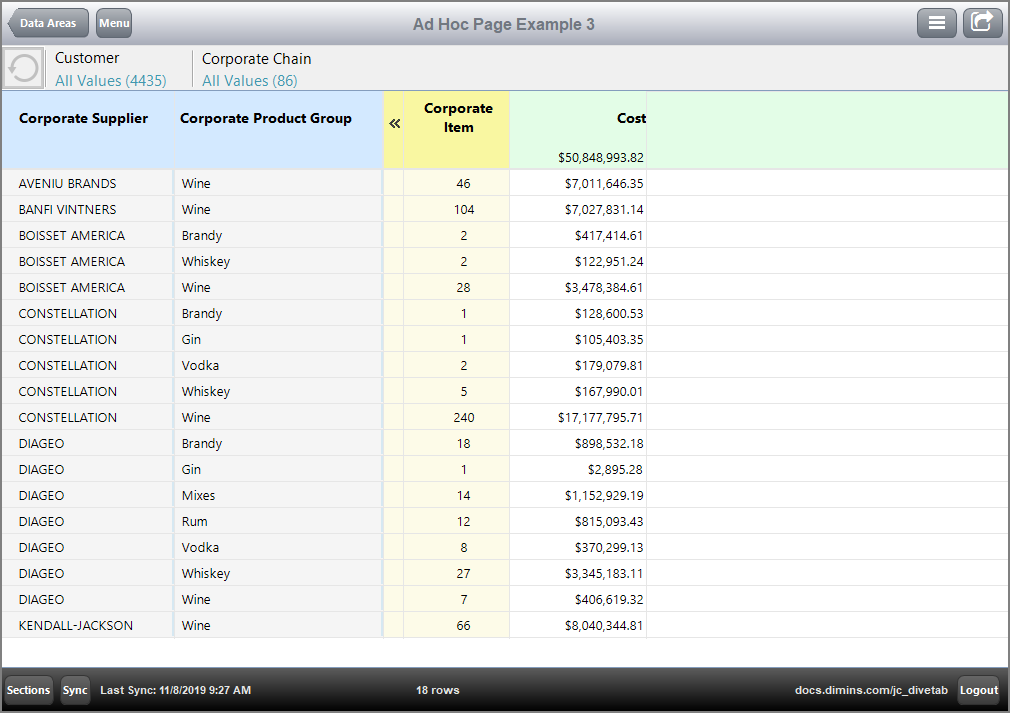
 result of the ad hoc page code in DiveTab.
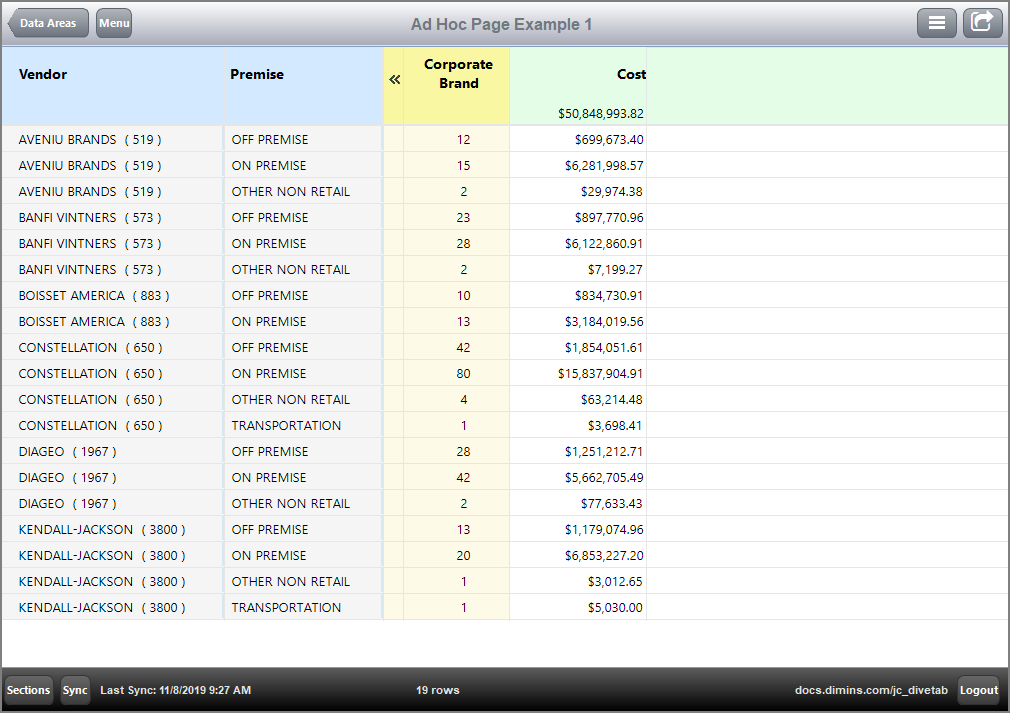
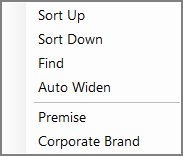
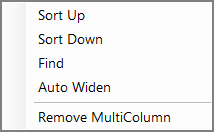
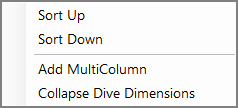
Notice the different context menus that allow you to switch the dimension in the first column, or remove the MultiColumn and replace it with a dive dimension. For example, click on Corporate Brand > Remove MultiColumn.
Here is an example of the
 resulting altered ad hoc page.
You can also add additional dimensions, such as available-dimensions, dimcount-dimensions, and quickview-dimensions, and include summary columns in an available-columns block. For example, if you wanted to have the dimension Corporate Brand appear initially as a dive dimension, you change it to a dimcount-dimension.
NOTE: If a dimension is defined as both a dimension and a dimcount-dimension, the DimCount definition is ignored.
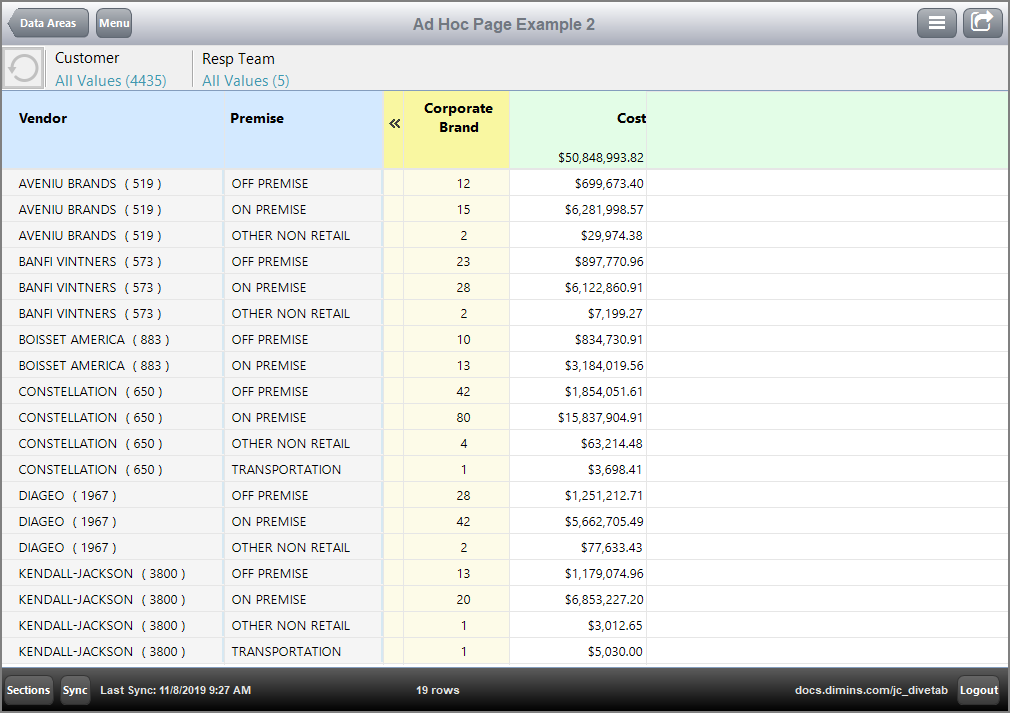
Here is an ![]() ad hoc page with more dimension types.
ad hoc page with more dimension types.
Here is the ![]() result of the code in DiveTab.
result of the code in DiveTab.
- In your DiveTab project in Workbench, open the main.divetab.
-
Click the green plus sign, and select New Area > Data Area.

-
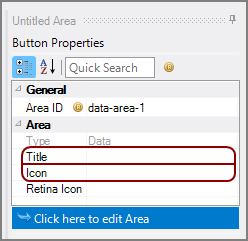
Under Button Properties on the right, enter a Title and an Icon.
-
Note the Area ID value, and then click Click here to edit Area.
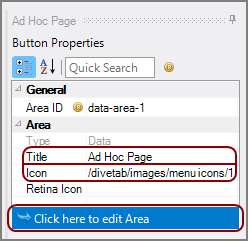
The script opens.
-
Locate the Area ID block in the script.
NOTE: You may need to reposition the title and icon tags above the sections tag.
-
Enter the information needed to define the ad-hoc-page in the sections block.
An ad hoc page requires a cplan, title, and dimension tags.
Here is an
 example of an ad hoc page.
NOTE: If a dimension is defined as both a dimension and a dimcount-dimension, the DimCount definition is ignored.
- Save and Sync frequently and check the page from the DiveTab client.
Here is the ![]() result of the code in DiveTab.
result of the code in DiveTab.
Each additional dimension becomes a MultiColumn and has an option for switching with the primary dimension.
The ![]() context menu for the primary dimension allows you to switch with MultiColumns.
context menu for the primary dimension allows you to switch with MultiColumns.
The ![]() context menu for the other dimensions allows you to toggle between the value and the DimCount (that is Remove or Add MultiColumn).
context menu for the other dimensions allows you to toggle between the value and the DimCount (that is Remove or Add MultiColumn).
The ![]() chevron next to the dive dimension headings is used to Collapse or Expand dive dimensions. When expanded, the context menu has options for sorting, adding and removing MultiColumns, and adding collapsing the dive dimensions.
chevron next to the dive dimension headings is used to Collapse or Expand dive dimensions. When expanded, the context menu has options for sorting, adding and removing MultiColumns, and adding collapsing the dive dimensions.
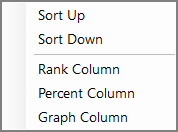
The ![]() context menu for the summary column has sort, rank, percent, and graph options.
context menu for the summary column has sort, rank, percent, and graph options.
See also:
