Create DiveTab repository areas to present DivePort document libraries, or DiveTab project directories, to DiveTab application users. (See the
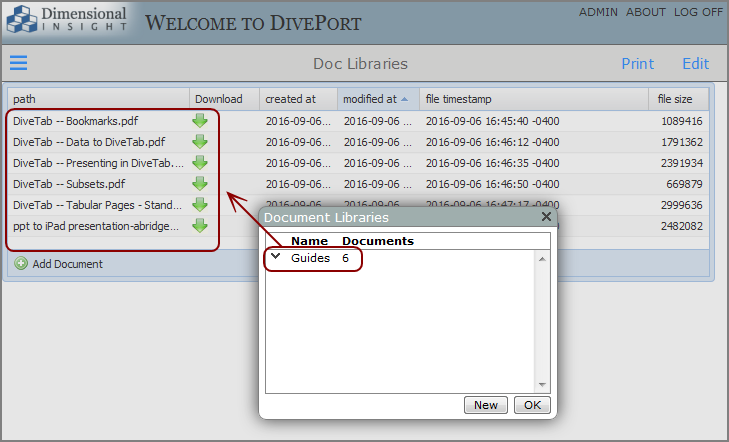
Assume the following document library (Guides with six documents) exists in the DivePort that is hosting the DiveTab application.
Here is an example of a ![]() document library in DivePort.
document library in DivePort.
To add a repository to your DiveTab application:
- In a DiveTab module, click the Add new item button (green plus sign), and then click New Area > Repository Area.
-
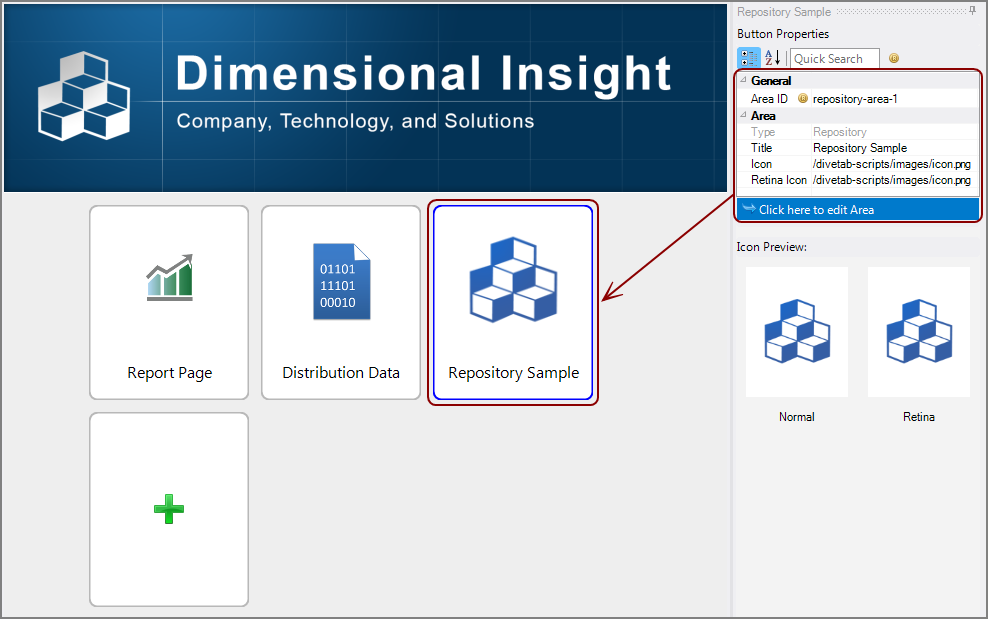
Under Button Properties in the rightmost pane, enter:
- A Title for the button (also becomes the page title)
- An Icon for the button
- Optional: A Retina Icon for the button
Here is an
 example of Button Properties:
 -
Select Click here to edit Area.
The DiveTab script opens in a text editor.
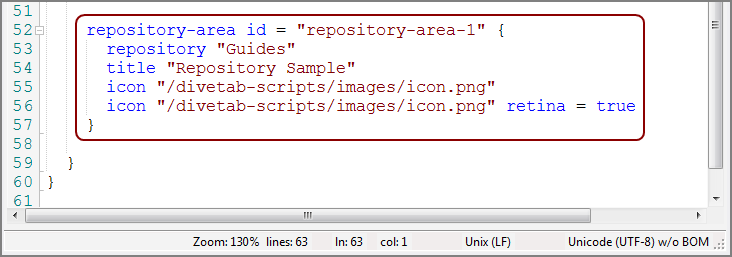
- Locate the repository-area code block.
-
In the repository string, type the name of the DivePort document library. Here is how the
 repository Guides appears in the code.
 - Save the file.
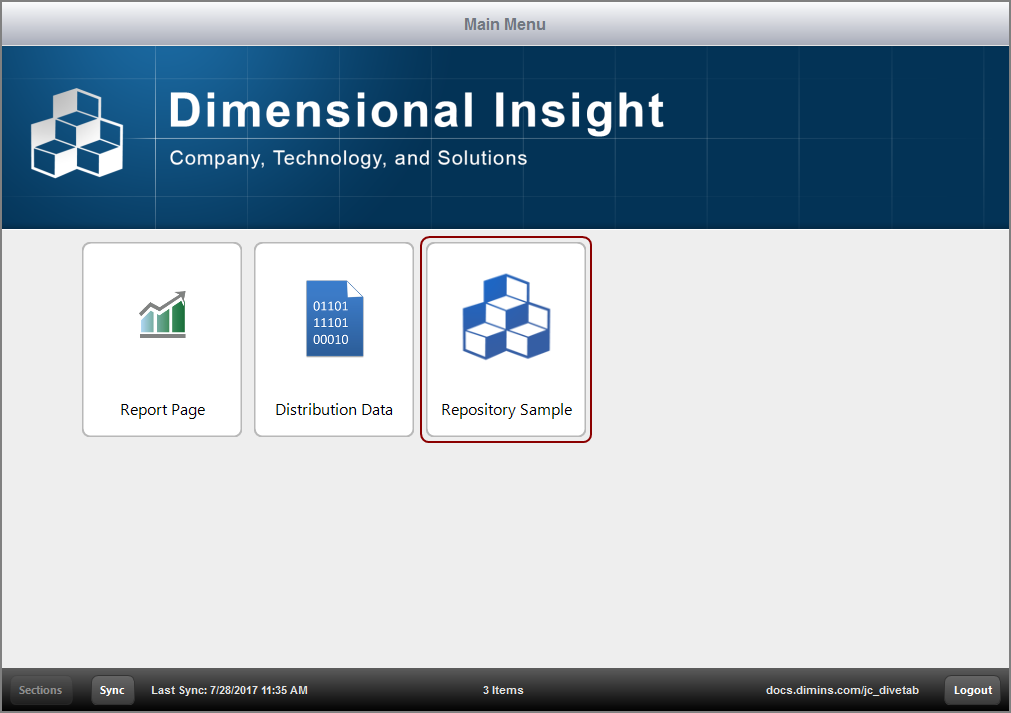
To view the results in DiveTab, Sync the application, select the repository button, and access the repository.
Here is the ![]() new button in DiveTab.
new button in DiveTab.
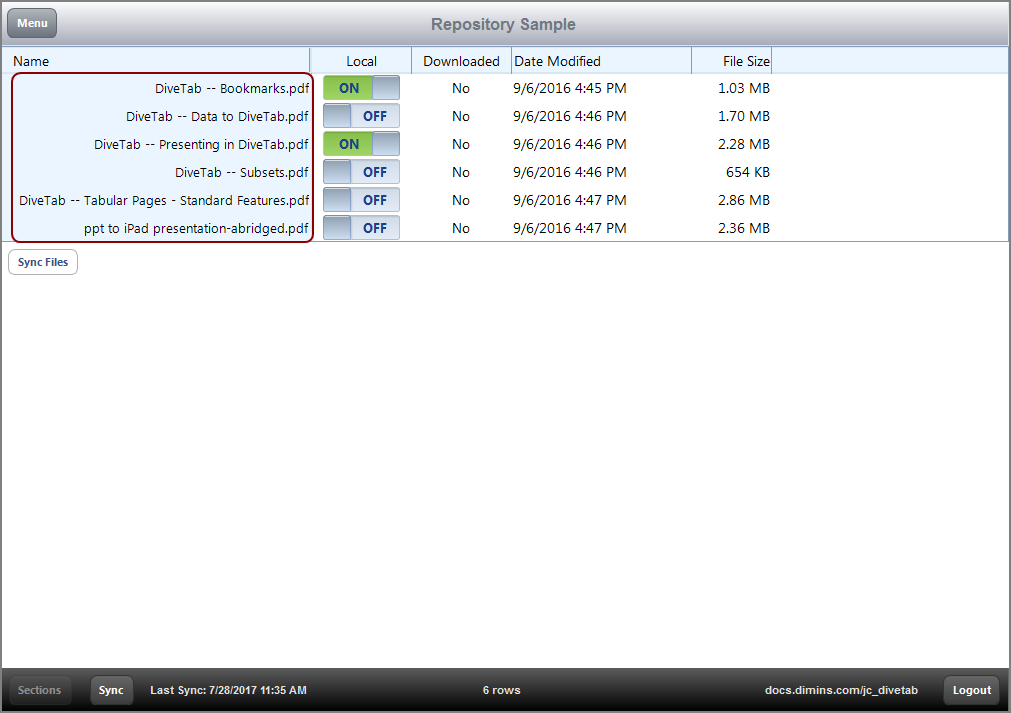
Here is the ![]() view of the repository area in DiveTab. The repository contains the same content as the DivePort document library.
view of the repository area in DiveTab. The repository contains the same content as the DivePort document library.
