After documents are positioned in the DiveTab project structure, you can create access to them by using a document area.
To create a document area:
-
In a DiveTab module, click the green plus sign, and then select New Area > Document Area.
A new Untitled Area displays.
-
Under Button Properties in the rightmost pane, enter:
- A Title for the button (also becomes the page title)
- An Icon for the button
- Optional: A Retina Icon for the button
-
Double-click the document area button.
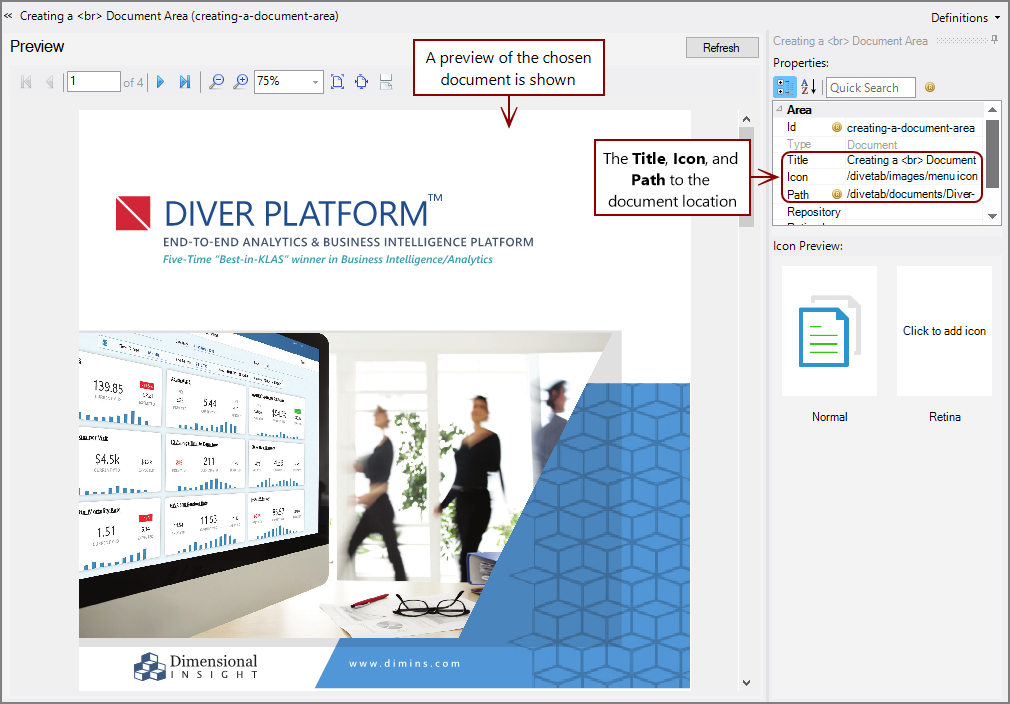
A blank preview pane opens.
-
Under Properties in the rightmost pane, click the Path row and navigate to the document to display.
The first page appears in the Preview section.
- Save the tab.
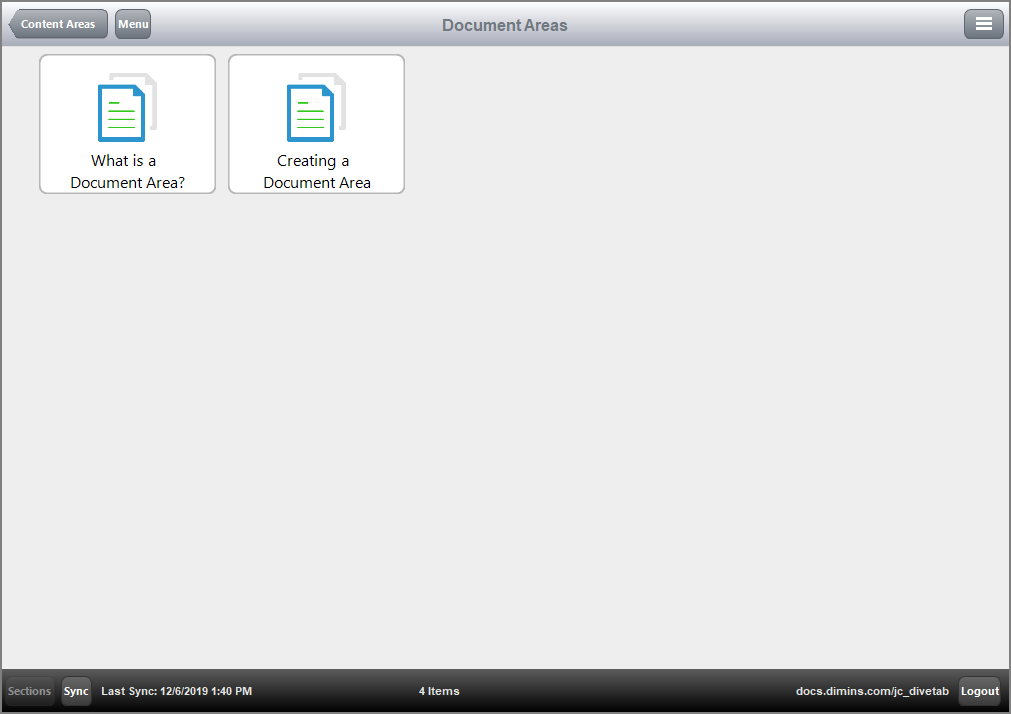
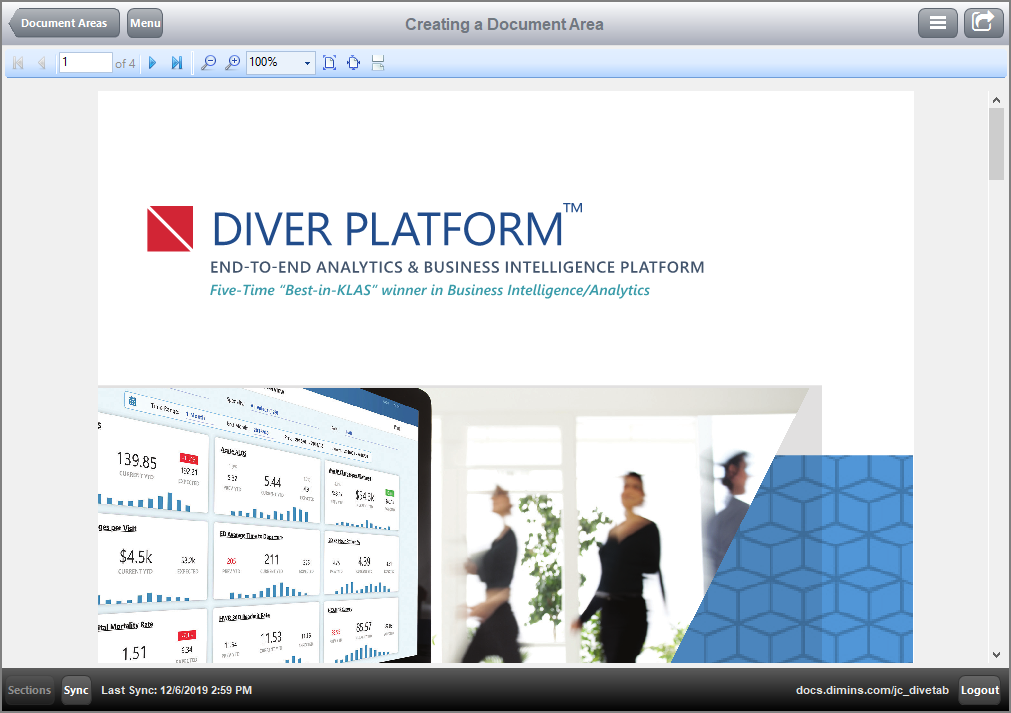
To view the results in DiveTab, Sync the application, select the documents button, and access the document.
Here is the ![]() button for the document in DiveTab.
button for the document in DiveTab.
Here is the ![]() view of the document within DiveTab.
view of the document within DiveTab.
Additional document areas can be defined by using these instructions.


