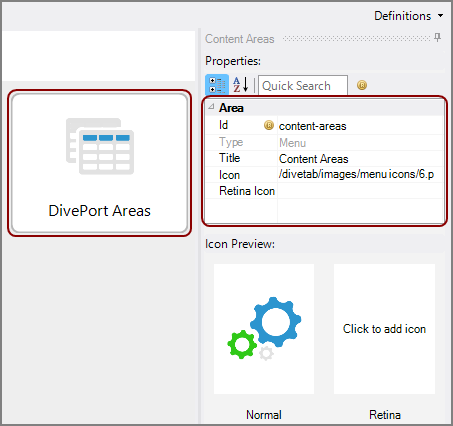
If you have a DivePort that you want to make accessible from your DiveTab application, you can add a DivePort area. Make note of the DivePort URL.
To create a DivePort area:
-
In a DiveTab module, click the green plus sign, and then select New Area > DivePort Area.
A new Untitled Area displays.
-
Under Button Properties in the rightmost pane, enter:
- A Title for the button
- An Icon for the button
- Optional: A Retina Icon for the button
-
Select Click here to edit Area.
This action opens the script in a text editor.
- Locate the diveport-area code block.
- Navigate to the DivePort page that you want to access.
-
Paste the DivePort portion of the URL into the url string and the page portion of the URL into the page string.
For example, the entire URL is:
https://docs.dimins.com/docs-diveport#page=7627ee39-7387-452c-be83-b94de
The url string contains: https://docs.dimins.com/docs-diveport.
The page string contains: 7627ee39-7387-452c-be83-b94de.
The #page= serves as the dividing point for the url and page and is removed.
- Click Save.
Here is the ![]() code for the DivePort area.
code for the DivePort area.
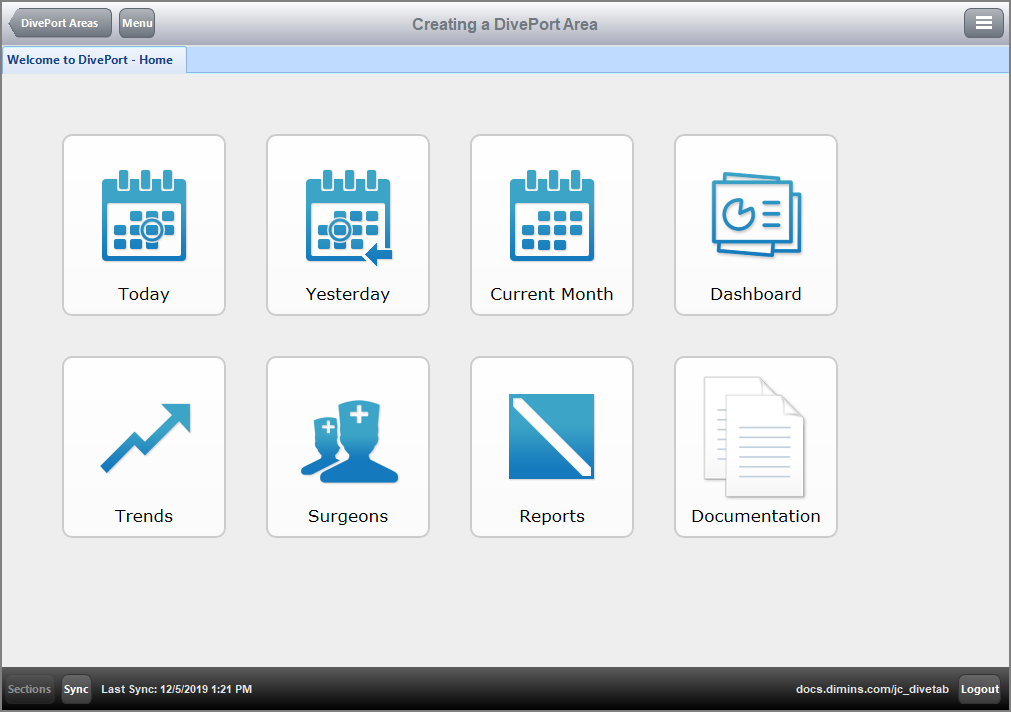
To view the results in DiveTab, Sync the application, tap the DivePort area button, and access the DivePort from within the client.
Here is the ![]() result in DiveTab.
result in DiveTab.
If you do not have single sign-on, you are prompted for logon credentials before the page displays.
Here is the ![]() view of the DivePort in DiveTab.
view of the DivePort in DiveTab.


