You can create a new dive page or alter an existing page, and then place the page within its own module, menu-area, or data-area.
To define a dive page:
- In your DiveTab project in Workbench, open the main.divetab.
-
Click the green plus sign, and select New Area > Data Area.

-
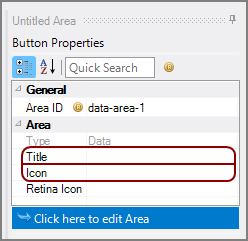
Under Button Properties > Area , enter a Title and an Icon.

-
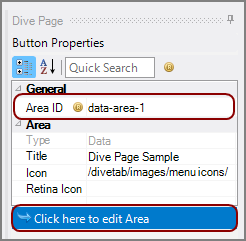
Note the Area ID value, and then click Click here to edit Area.

The script opens.
-
Locate the Area ID block in the script.
NOTE: You might need to reposition the title and icon tags above the sections tag.
-
Enter the information needed to define the dive-page in the sections block.
A dive page requires cplan, title, and dimension tags.
Here is an
 example of a dive page.
NOTES:
-
If available dimensions or available columns are included, they appear as options in the Edit QuickViews dialog box.
-
QuickViews can be included using the quickview-dimension or quickview-set attributes.
-
A QuickView set can use a different cPlan.
If a dimension is defined as both a dimension and a dimcount-dimension, the dimcount-definition is ignored.
-
- Save and Sync your work frequently, and verify the page on the DiveTab client.
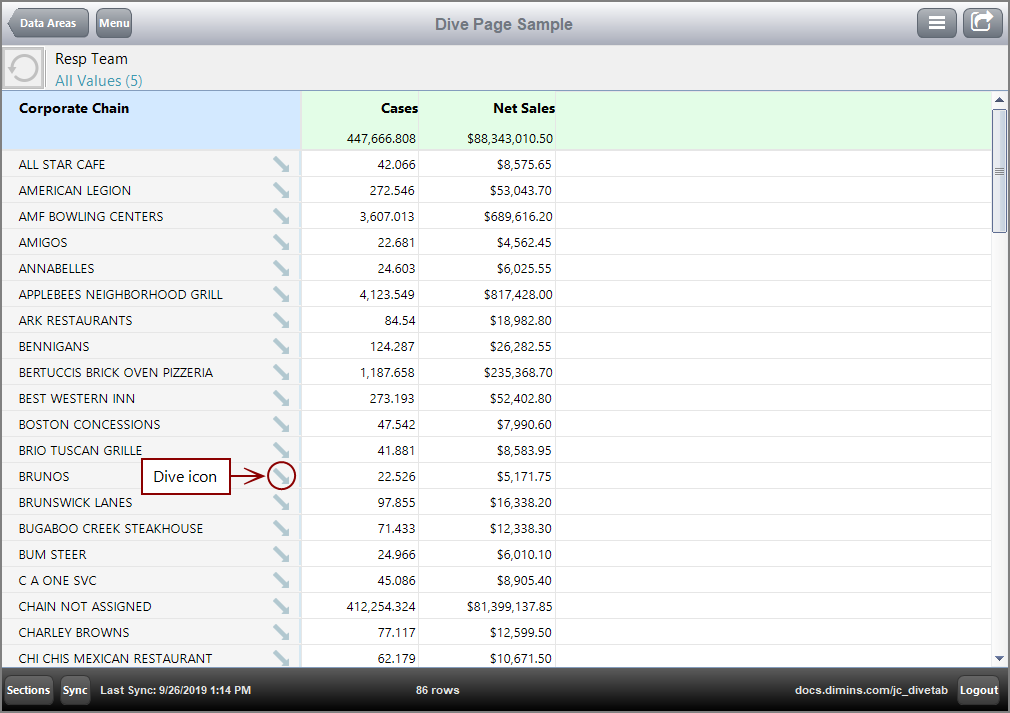
Here is the ![]() result of the code in DiveTab.
result of the code in DiveTab.
Each additional dimension becomes a Dive Dimension and an option for switching with the primary dimension.
