Installing Workbench
Workbench is an integrated development environment (IDE), designed to simplify and speed up development of applications to model your data. With Workbench on your desktop, you can manage projects on the server and test and visually examine your data flows and processes. In addition, Workbench provides one point of entry for all your Diver data servers, consolidating the tasks of developing, testing, and managing multiple data projects. The Workbench installation process closes all open instances of Workbench, so be sure to save any unsaved changes in Workbench before installing or updating Workbench.
NOTE: You need to be an administrative user to install the software.
Complete the following steps:
- Navigate to the DI\Solution\downloads directory.
-
Double-click the Workbench-Setup.exe file.
The User Account Control dialog box opens, asking you to confirm that you want to make changes to your device.
NOTE: Depending on your Windows version and user account settings, you might see the Open File - Security Warning dialog box instead. Confirm that you want to open and run the executable file.
-
Click Yes.
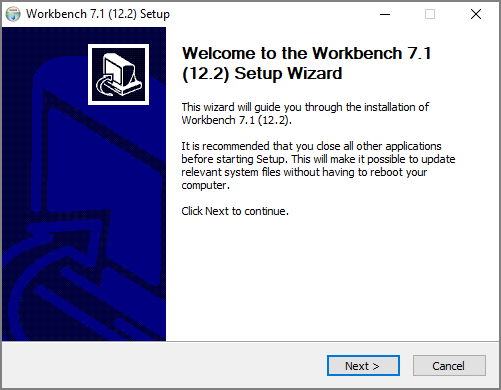
The
 Workbench 7.1 Setup Wizard dialog box opens.
 -
Review the setup instructions and click Next.
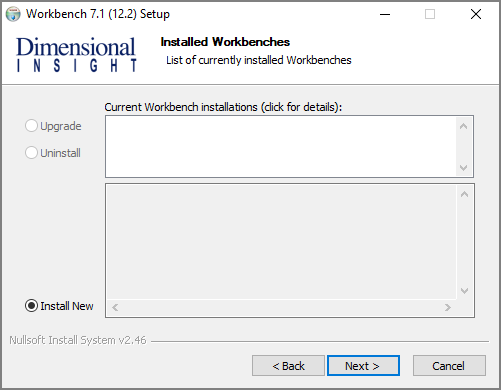
The
 Installed Workbenches page opens.
 - Select the Install New option. This page lists any existing Workbench installations, which you can choose to Upgrade or Uninstall. If this is the first installation, Install New is selected by default.
-
Click Next.
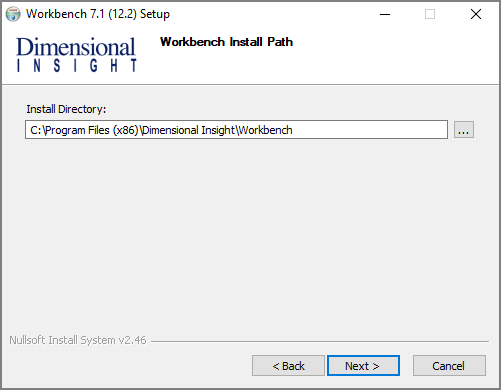
The
 Workbench Install Path page opens and displays the default installation path. For example, C:\Program Files (x86)\Dimensional Insight\Workbench. Make changes if necessary.
 -
Click Next.
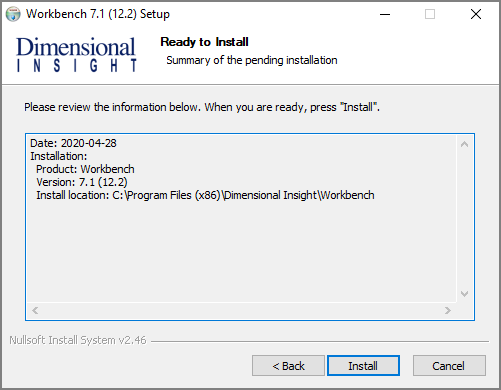
The
 Ready to Install page opens and displays information on the pending installation.
 -
Click Install to install the Workbench software.
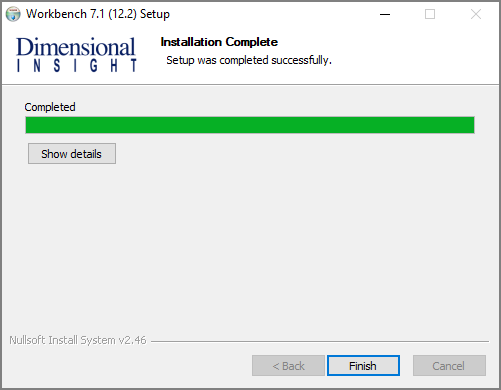
When complete, the wizard displays the
 Installation Complete page.
NOTE: To view a running summary of the installation process, click the Show details button.
- Click Finish to close the wizard.
NOTE: The Workbench installer
