As a DivePort administrator, you can define additional input tables for your users. To add a new table:
-
On the DivePort
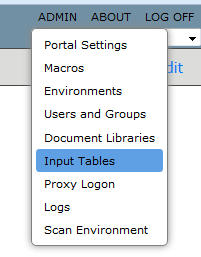
 title bar, select ADMIN > Input Tables.
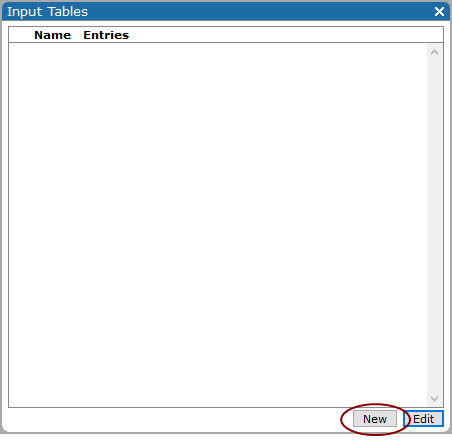
 The Input Tables
 dialog box opens.
 -
On the lower left, click New.
The Add Input Table
 dialog box opens.
 -
In the Name box, enter a name for your new input table.
-
If you want to capture the times when each row in the table is created or modified, select Record creation and modification times.
This option is selected by default.
-
Click OK.
The new input table is added to the Input Tables list.
-
On the Input Tables list, click the chevron to the left of the new input table
 name, and then select Settings.
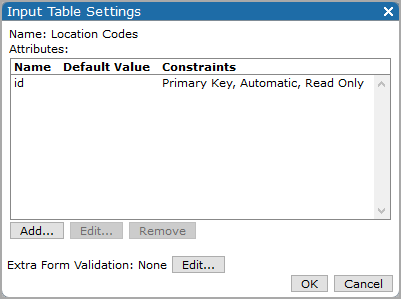
 The Input Table Settings
 dialog box opens. By default, the id attribute (column) is listed.
 -
Click Add.
The Add Attribute
 dialog box opens. This is where you define the columns (attributes) for the input table.
 -
Enter the following information for the column that you are adding to the input table.
-
Name—Enter a name for the data or metadata column.
-
Description—Specify the purpose of the column. This description appears as a tooltip on the data entry form. If the description is obvious, you can use this box for a custom message instead.
-
Default value—Specify a default to initialize the column. The value can be explicit or the result of resolving a macro, for example, $(MACRO Threshold).
-
Display label—Specify an alternative column heading. This allows you to change what the user sees when prompted for input for this attribute.
TIP: You can use this option to separate the programmatic and user-friendly names for an attribute.
-
Perform lookup—Select to enable the Lookup configuration option.
NOTE: Selecting this option disables Must be unique, Required item, and all five Data type options.
-
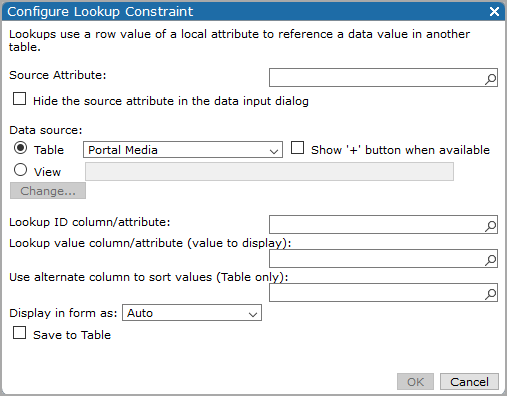
Lookup configuration—Opens the Configure Lookup Constraint
 dialog box, which you can use to define the
  lookup values.
 - Read-only—Select if the value is displayed in the table, but cannot be changed. When on a form, there is no data entry box drawn.
- Must be unique—Select if the value must be unique for all rows in the table.
- Required item—Select if this item is required to add the row. Entry forms cannot be committed without it.
-
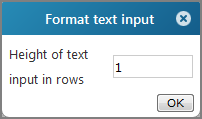
Text—Specifies that the column accepts any data characters. Click the adjacent Configure option to open the Format text input
 dialog box, which you can use to specify the number of rows of text. Default is 1 row.
 -
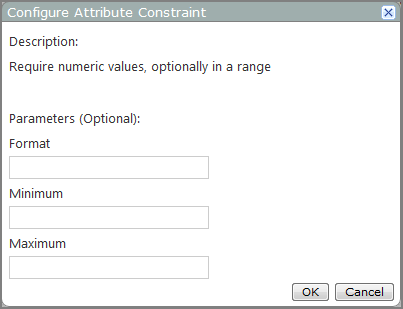
Number—Specifies that the column accepts only numeric data characters. Click the adjacent Configure option to open the Configure Attribute Constraint
 dialog box, which you can use to specify the numeric format and a range of acceptable values.
For more information, see Formatting Numeric Values.
NOTE: When entering Minimum and Maximum number values, do not include commas. Decimal points are allowed.
-
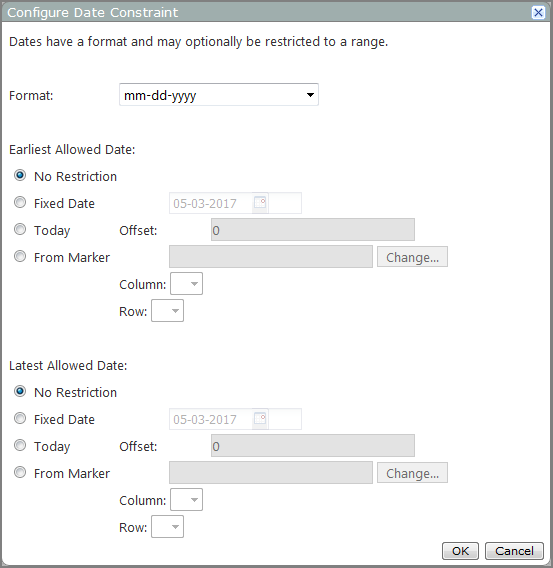
Date—Specifies that the column accepts a date. Click the adjacent Configure option to open the Configure Date Constraint
 dialog box, which you can use to
  specify the date format and other restrictions.
 -
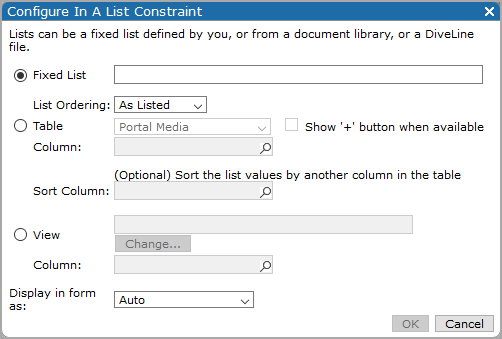
In a list—Requires that you indicate where the set of values resides. You can enter a short fixed list when you define the constraint, or select a library table, or a DiveLine file. Click the adjacent Configure option to open the Configure In A List Constraint
 dialog box, which you can use to
  define the list and other constraints.
 -
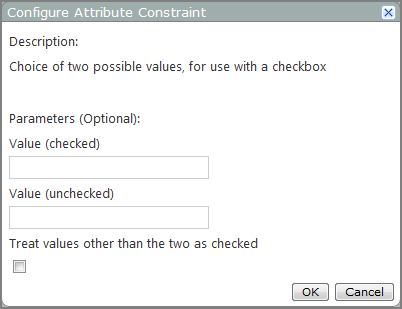
Boolean checkbox—Specifies that two values are available: one displays as a selected check box, and another displays as a cleared check box. Click the adjacent Configure option to open the Configure Attribute Constraint
 dialog box, which you can use to
  specify the Boolean values.
 NOTE: If the column contains more than two values, including empty or null values, DivePort treats the unspecified values as if they are unchecked by default and presents a cleared check box. Alternatively, you can select Treat values other than the two as checked, in which case the check box representing those values is selected.
-
- Click OK to save your changes.
- Add as many columns to your table as needed, and then in the Input Settings dialog box, click OK.
See also:
