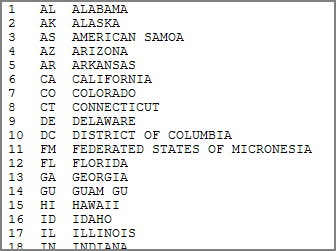
You can populate an input table with a collection of data from another source. For example, the following list of abbreviations was copied from the internet and saved to a flat file external to DivePort’s directories. It is a text file called Location Codes.txt with tab-delimited US state and territory abbreviation data.
To preload an input table with collected data:
-
On the DivePort toolbar, select ADMIN > Input Tables.
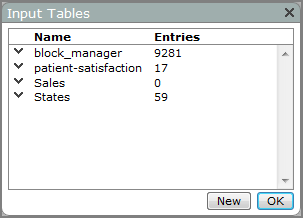
The Input Tables
 dialog box opens, showing a list of existing input tables.
 -
Click New.
The Add Input Table
 dialog box opens.
 -
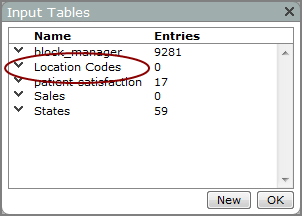
In the Name box, enter a name for the input table, clear the Record creation and modification times check box, and then click OK.
In this example, Location Codes is being used as the Name. It is the same name as the source text file. The new input table is added to the
 list.
list. -
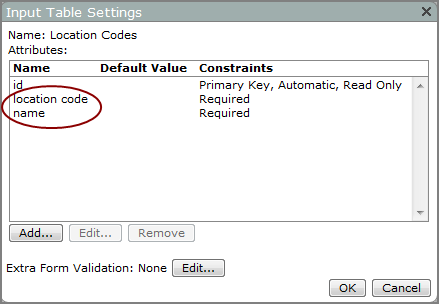
Click the Edit this input table chevron to the left of the new input table name, and then select Settings.
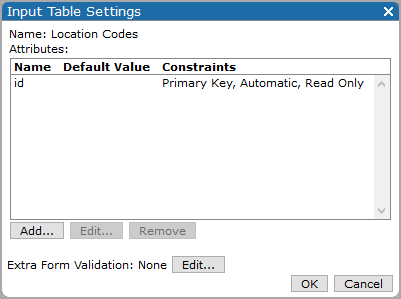
The Input Table Settings
 dialog box opens. By default, the id attribute (column) is listed.
 -
If you are going to copy a file from another location, proceed to step 11.
-
Click Add.
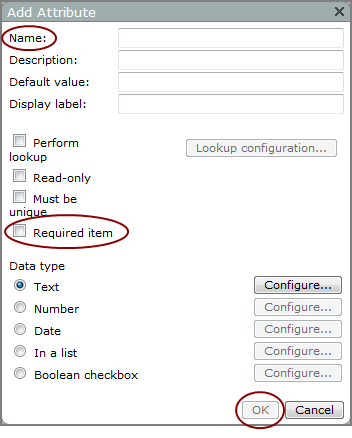
The Add Attribute
 dialog box opens. This is where you specify table columns and their headings.
 -
Enter a Name for the attribute, select Required item, and then click OK.
The new attribute is added to the Input Table Settings dialog box.
-
Click Add to reopen the Add Attribute dialog box.
-
Enter a Name for the new attribute, select Required item, and then click OK.
In this example, name is being used as this attribute (column) Name. The new attribute is added to the Input Table Settings
 dialog box.
 -
Continue adding attributes as needed, and then click OK to save the input table settings and exit the Input Table Settings dialog box.
This creates <Input Table Name>.xml and <Input Table Name>.txt files in the tables directory. In this example, Location Codes.xml and a Locations Codes.txt.
-
External to DivePort, browse to the tables directory in your DivePort. For example:
-
di\solution\webdata\diveport70\tables
-
Open and examine the new <Input Table Name>.txt file before temporarily saving it with another name.
It contains a row showing the attributes that you added.
-
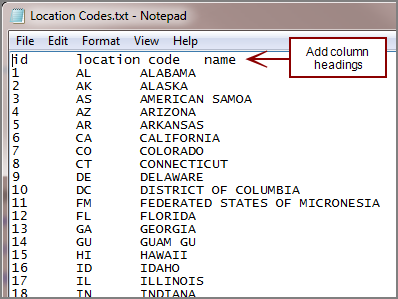
Open your original <source>.txt file with a text editor and add a header row. For example, id, tab, location code, tab, and name and place this file into the tables directory.
-
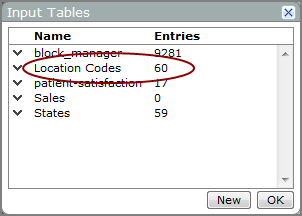
On the DivePort title bar, select Admin > Input Tables.
The Input Tables
 list shows the new populated input table. If it does not, refresh the page in your browser.
 -
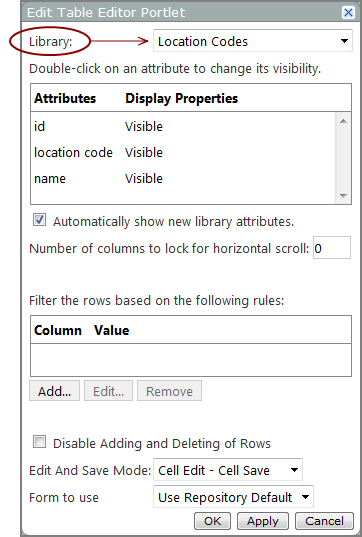
Add a Table Editor portlet to a page and in the Library
 box, select the new input table.
 -
Click OK.
-
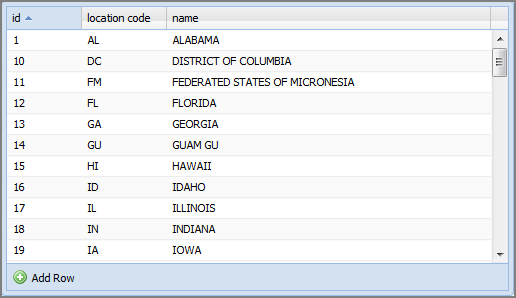
Examine the
 portlet instance to verify that all rows of data from the original source text file are available.
See also:
