Marker portlets display a specific set or subset of the dimensions available in the underlying marker or Spectre Dive file.
To change the dimensions that are available to display in the marker portlet:
-
In DivePort, browse to the page that contains the portlet that you want to edit.
-
On the toolbar, click Edit to unlock the page and enter edit mode.
-
Double-click the marker portlet that you want to edit.
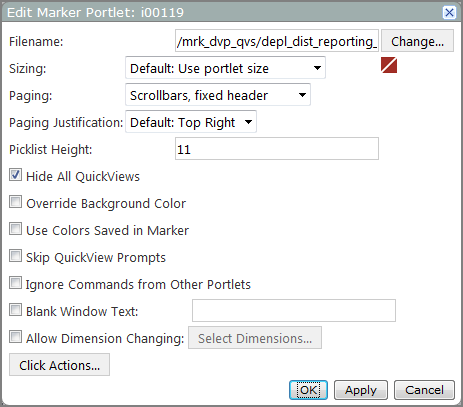
The Edit Marker Portlet
 dialog box opens.
 -
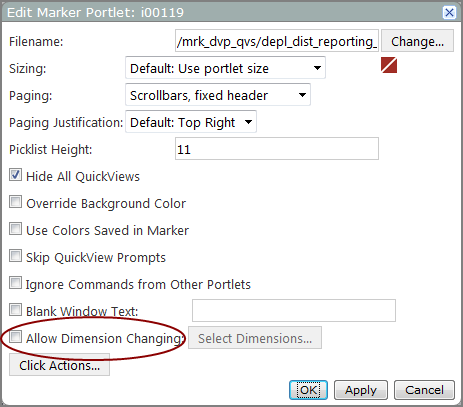
Select Allow Dimension Changing.
The adjacent Select Dimensions
 option becomes available.
 -
Click Select Dimensions.
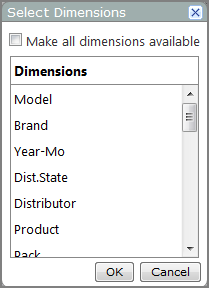
The Select Dimensions
 dialog box opens.
 -
Select the dimensions that you want to include:
-
To make all dimensions available in the marker portlet, select Make all dimensions available.

-
To include some of the dimensions, clear the Make all dimensions available check box.
The
 window expands to list the available dimensions.
 - Use the Ctrl+click (Windows) or Command-click (Mac) operation to select the dimensions that you want to make available on your marker portlet, and then click OK.
-
-
In the Edit Marker Portlet dialog box, click OK.
-
On the toolbar, click Save to save your changes and lock the page.
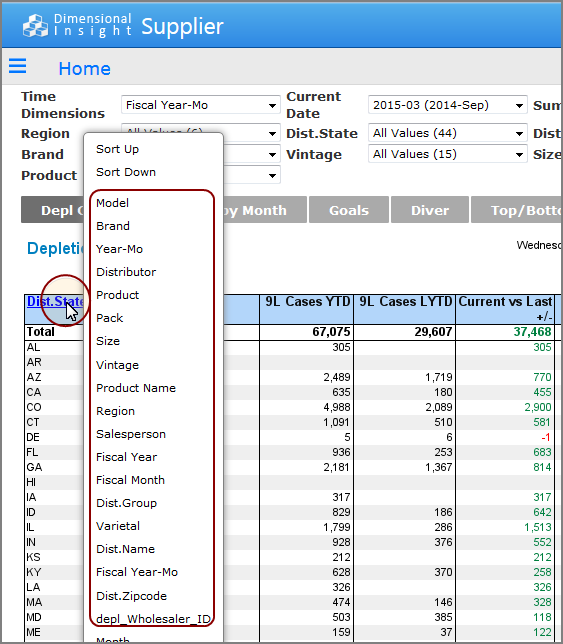
A user with access to the marker portlet can click the dimension heading to see a list of available dimensions from which to select a different dimension to display.

See also:


