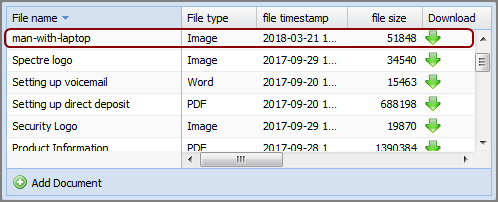
Licensed users can use the Table Editor portlet to add a document to an existing document library. When a table editor portlet is created, an Add Document click action is added by default. However, you can disable this click action to prevent users from adding or deleting documents. In that case, those options do not appear on the table editor portlet.
- Open the Table Editor portlet to which you want to add a document.
-
Click Add Document.

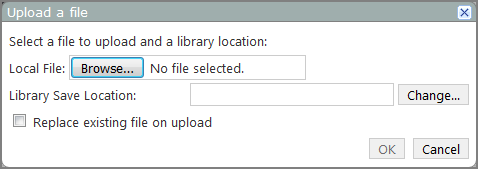
The Upload a file
 dialog box opens.
 -
Do the following:
- In the local file box, click Browse, and then locate and select the file that you want upload from your computer.
- To the right of the Library Save Location box, click Change and browse to location of the document library.
- If you are replacing an existing file, select Replace existing file on upload.
- Click OK.
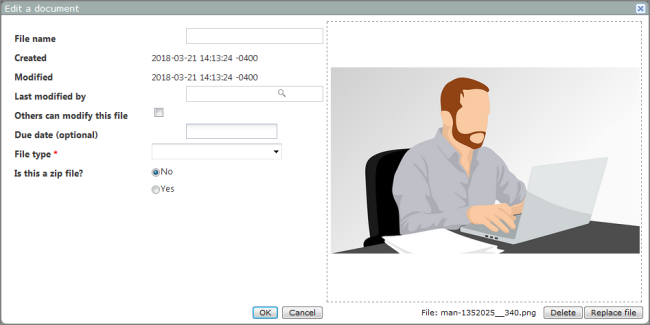
The Edit a document
dialog box opens. The left side of the dialog box lists portlet options. The right side contains a representation of the document being added. Sometimes it contains a View document link that you can click to see the document, other times it shows a preview of the document. -
Enter a File name, and other options as needed.
NOTE: Options marked with a red asterisk are required.
-
Click OK.
The
document is added to the document library and the portlet.
DivePort offers an Upload Document click action that you can use to upload documents to the documentation library. For more information, see: